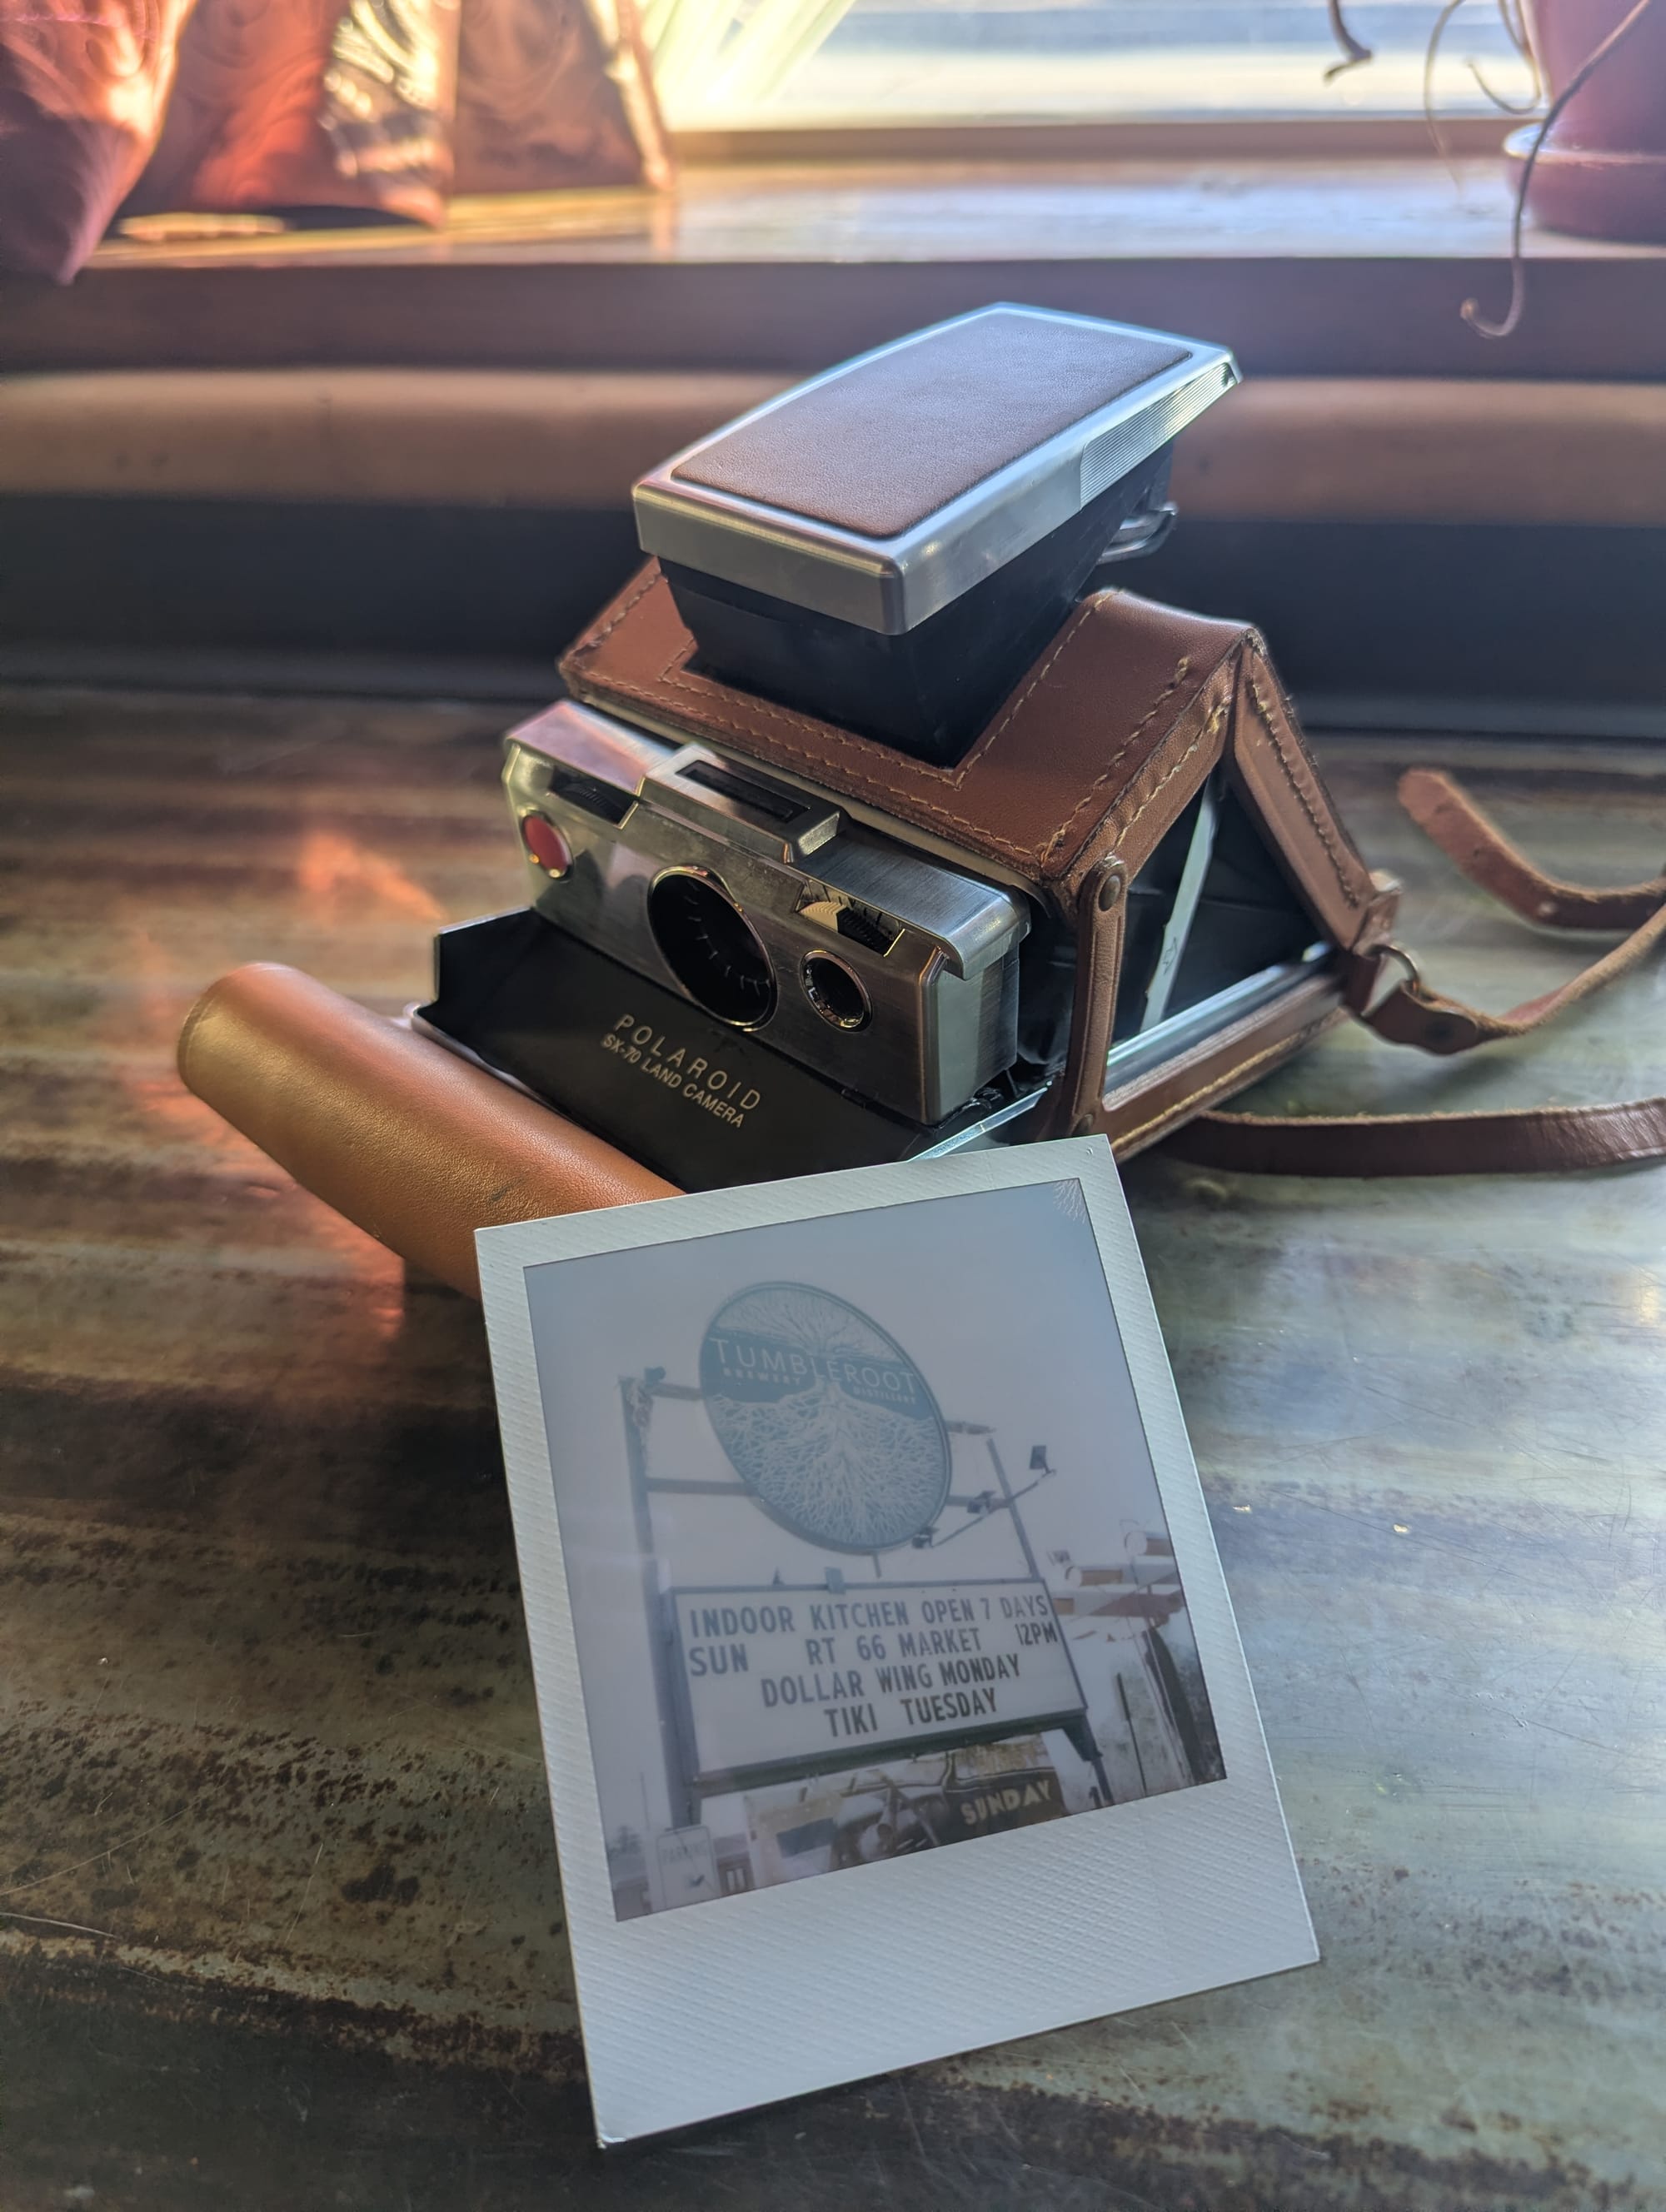
The Polaroid SX-70 Land Camera
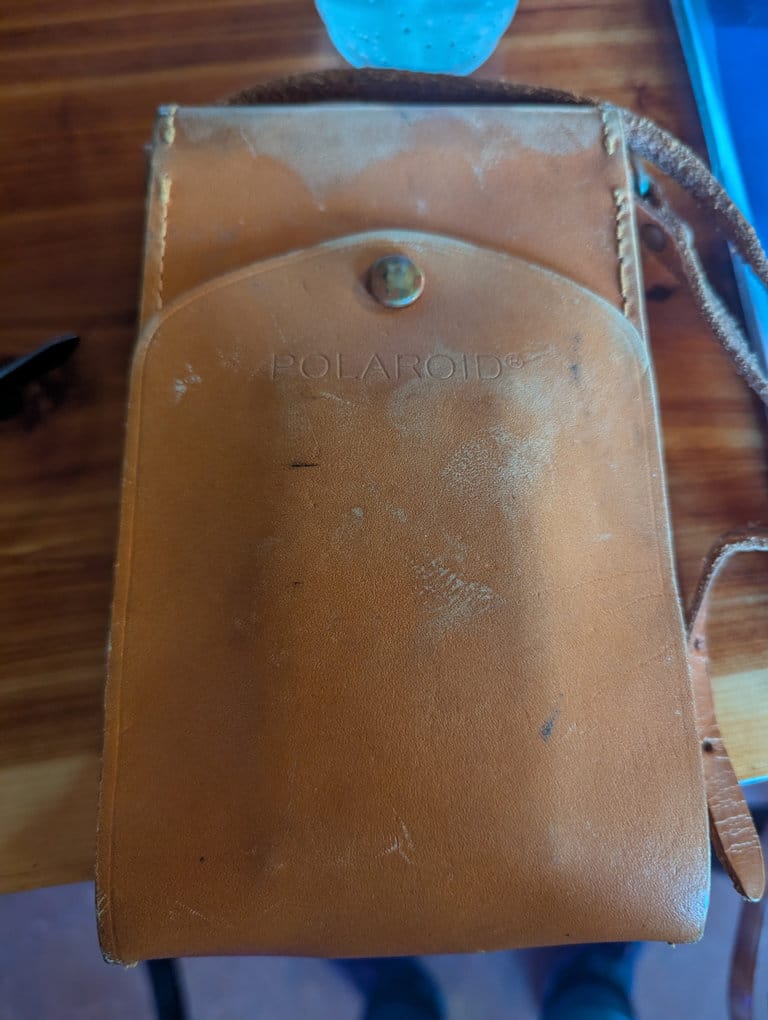
When my friends Dan and Rebecka left Santa Fe for the Rebel City, Dan gifted me a camera bag full of old film photography equipment. Amongst the contents was a curious looking leather pouch, branded "Polaroid®"
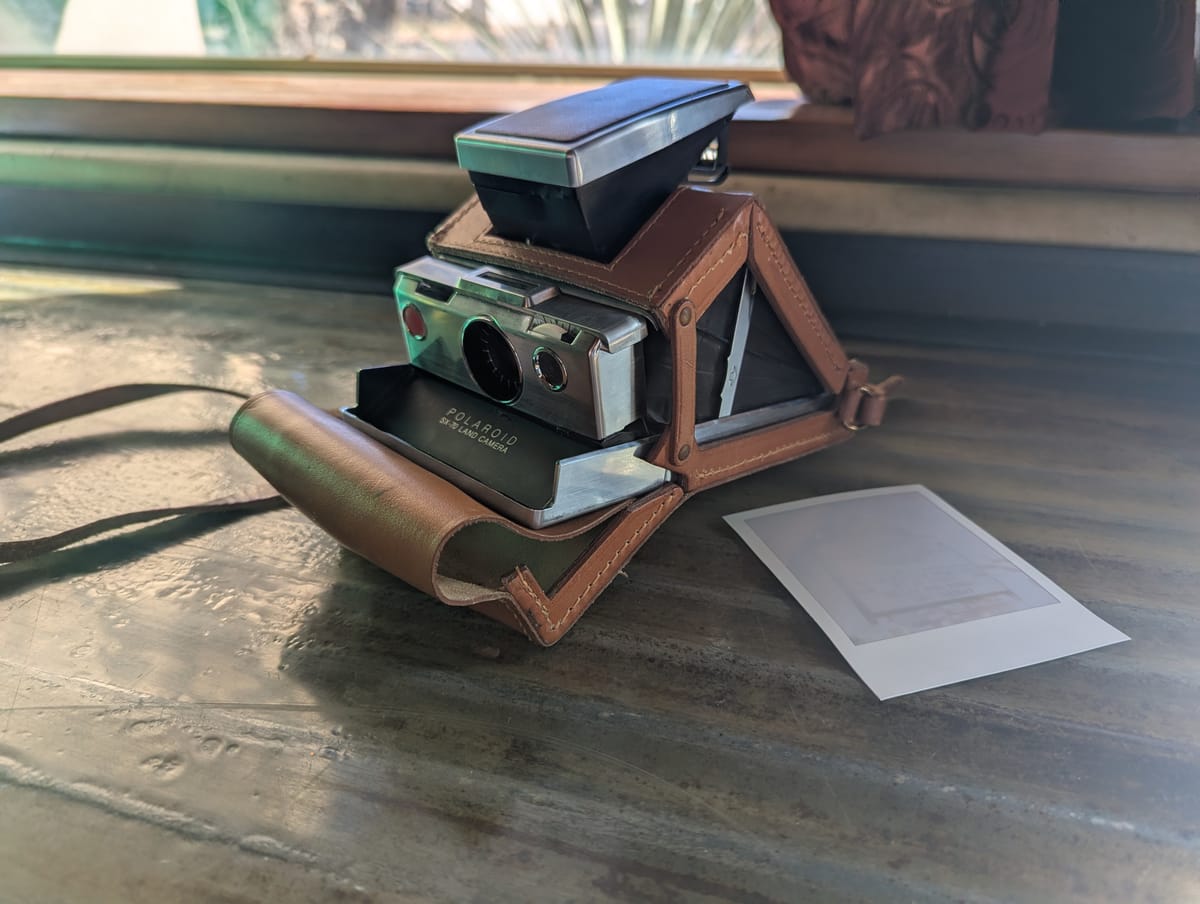
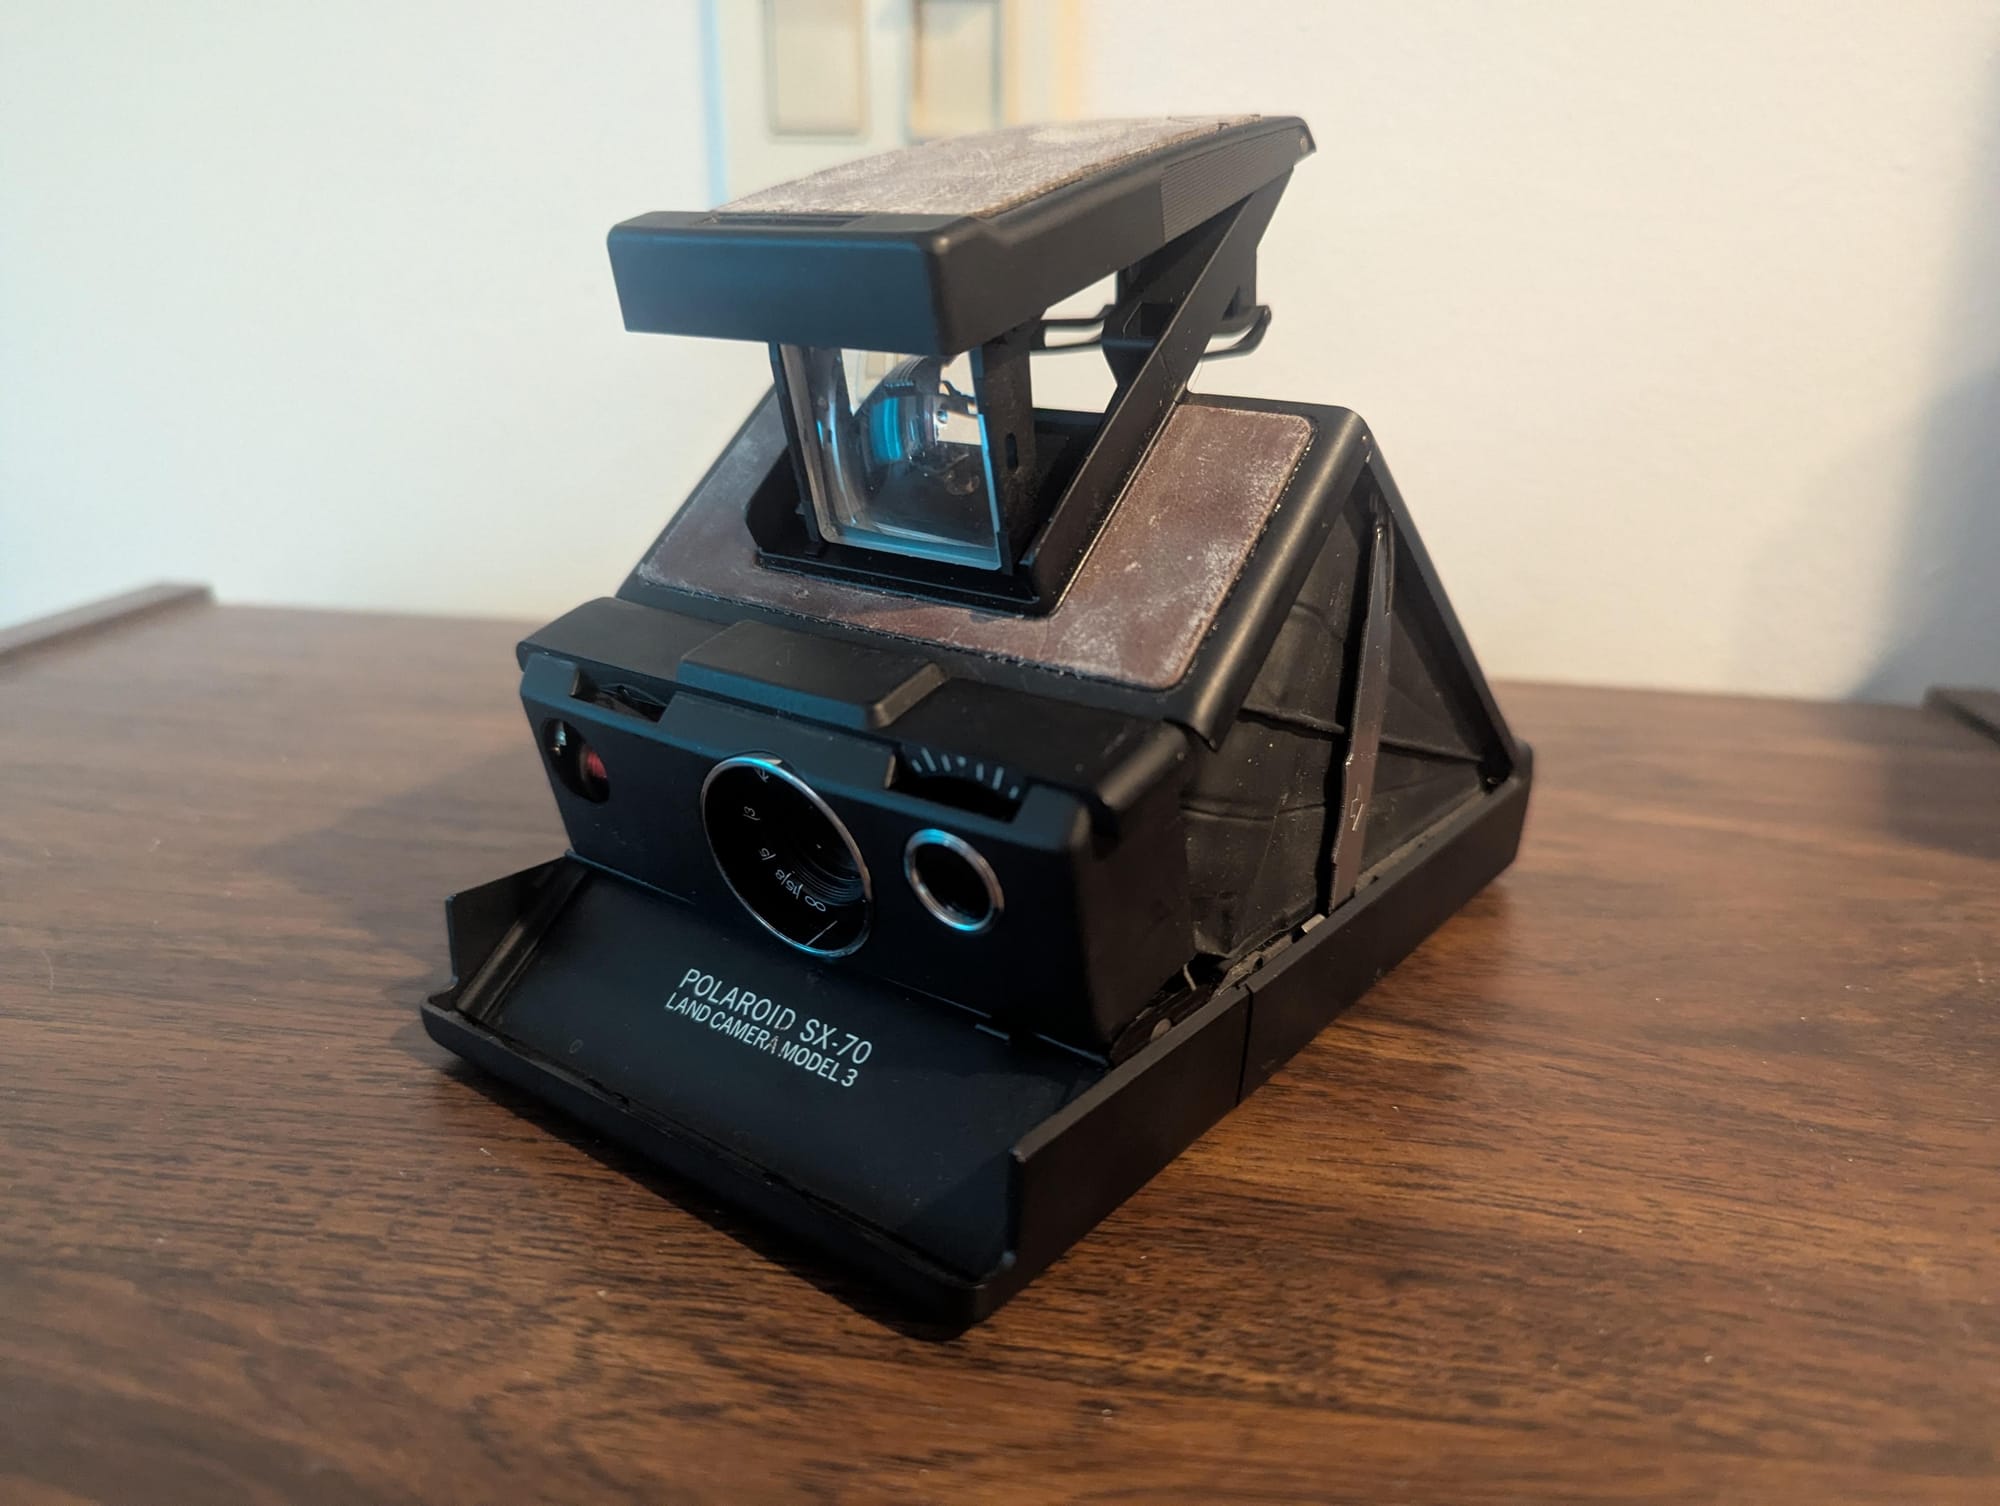
Of course, I was familiar with the Polaroid name, but only vaguely. I'd never owned a Polaroid camera before, I'd only used friend's more modern Polaroids a handful of times, always producing the worst quality of photos because I didn't know how to use it. I had never actually seen a vintage Polaroid camera before. Imagine my surprise when I opened the pouch and was presented with the following.
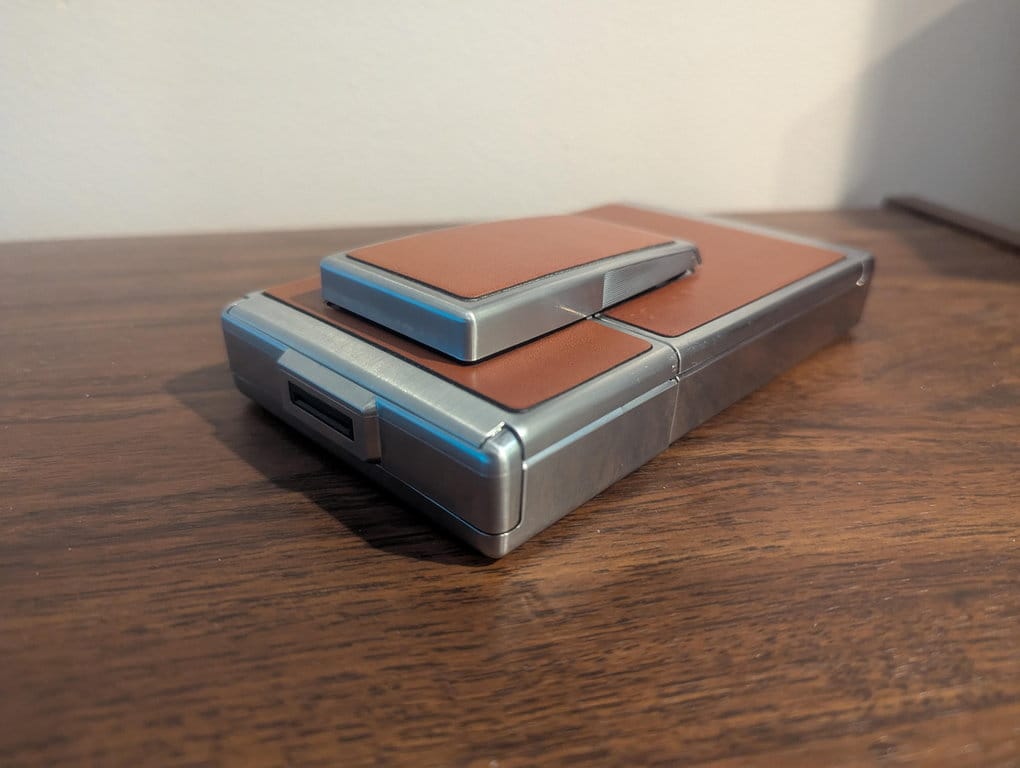
"What the hell is this?" I thought to myself. I quickly figured out how to open the camera and discovered a fully intact, original, good condition Polaroid Model SX-70 Land Camera. In my eagerness to play with a vintage Polaroid, I quickly went out and bought a pack of Polaroid 600 film from the store and loaded the pack into the camera.
And practically all of the photos turned out terrible.
I was disappointed, but entirely charmed by this little camera. "Why is this not working right? What am I doing wrong?" I thought to myself. At almost $3 a shot, mistakes with this new toy were not cheap. Time to research the subject matter and learn how to use the camera.
I quickly learned it wasn't entirely my fault the photos weren't turning out well. The original SX-70 was designed for Polaroid SX-70 film. This film shot at around ISO 160, whereas the modern Polaroid 600 film is closer to ISO 640. I was terribly overexposing Polaroid 600 film by using it in an unmodified SX-70.
There was modern SX-70 film on the market, but everywhere I looked it was out of stock. It also wasn't freely available locally, unlike the Polaroid 600 film. There were also various ND filters on the market to "trick" the SX-70 into taking photos with the Polaroid 600 film. However, I wanted a more permanent solution.
The rabbit hole got deeper, and I discovered The Instant Camera Guy, his accompanying YouTube channel, and a very in-depth article written by him covering many details about converting an SX-70 to use Polaroid 600 film.
Watching Jake's YouTube channel, he had hours long videos of breaking down and refurbishing SX-70 cameras. Taking a cautionary approach, he always advises that performing the work he does in the video isn't for the faint of heart, and it's his decades long of experience working on these cameras that allows him to do it seamlessly and flawlessly. He equally notes that any SX-70 needs to be overhauled at this point; they are 50+ year old cameras after all.
Having worked in refurbishing vintage electronics in the past, I was undeterred. In fact, I was determined to get my feet wet in this world again. This was an itch I hadn't scratched in nearly a decade and I was keen to see if I could still pull it off. Why not have some fun with this little camera that happened to come my way?
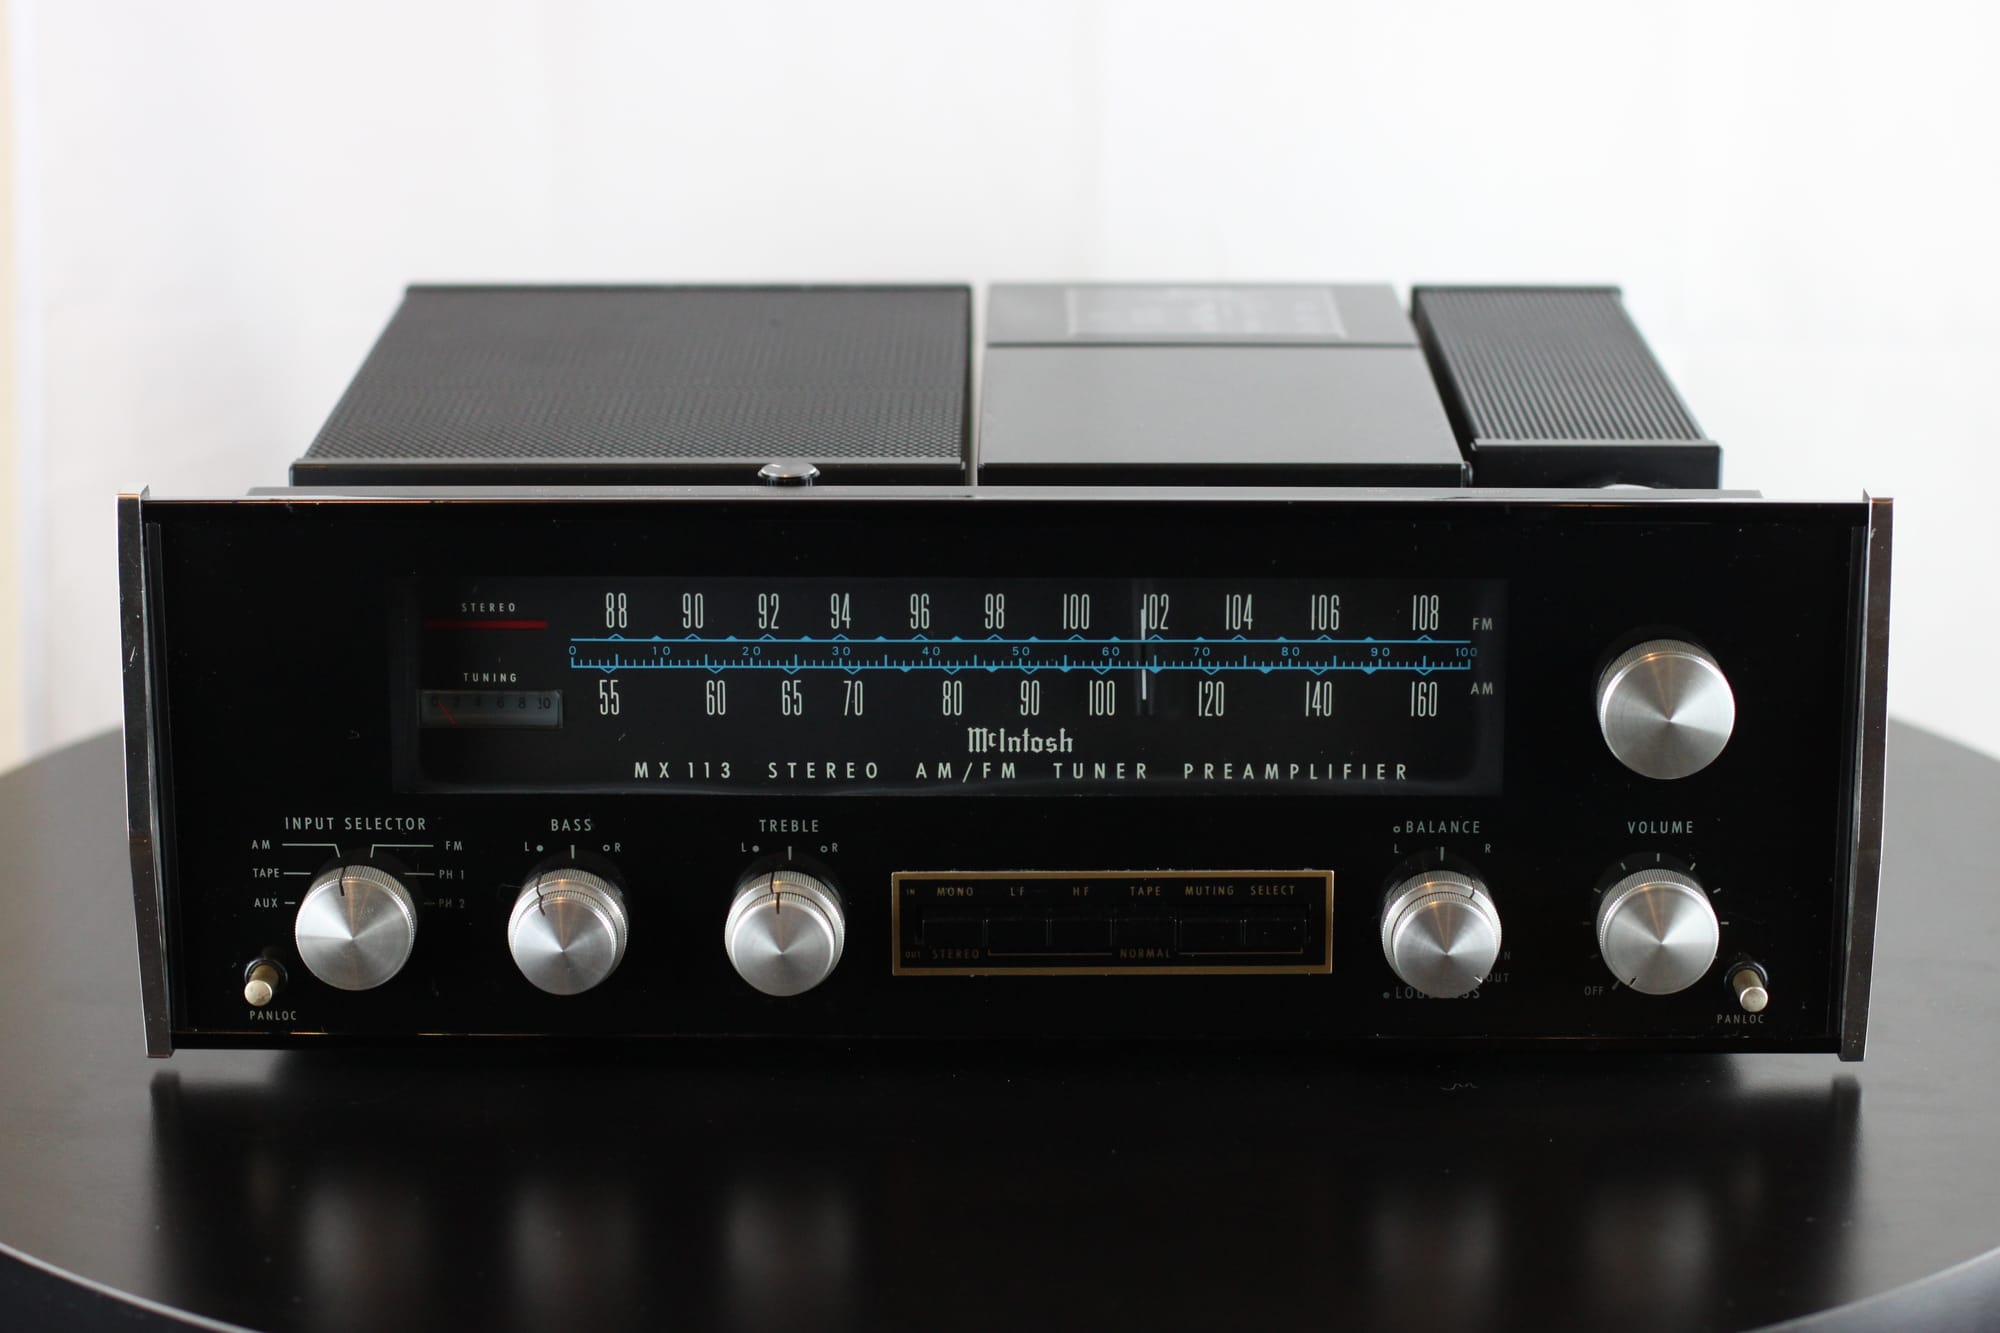
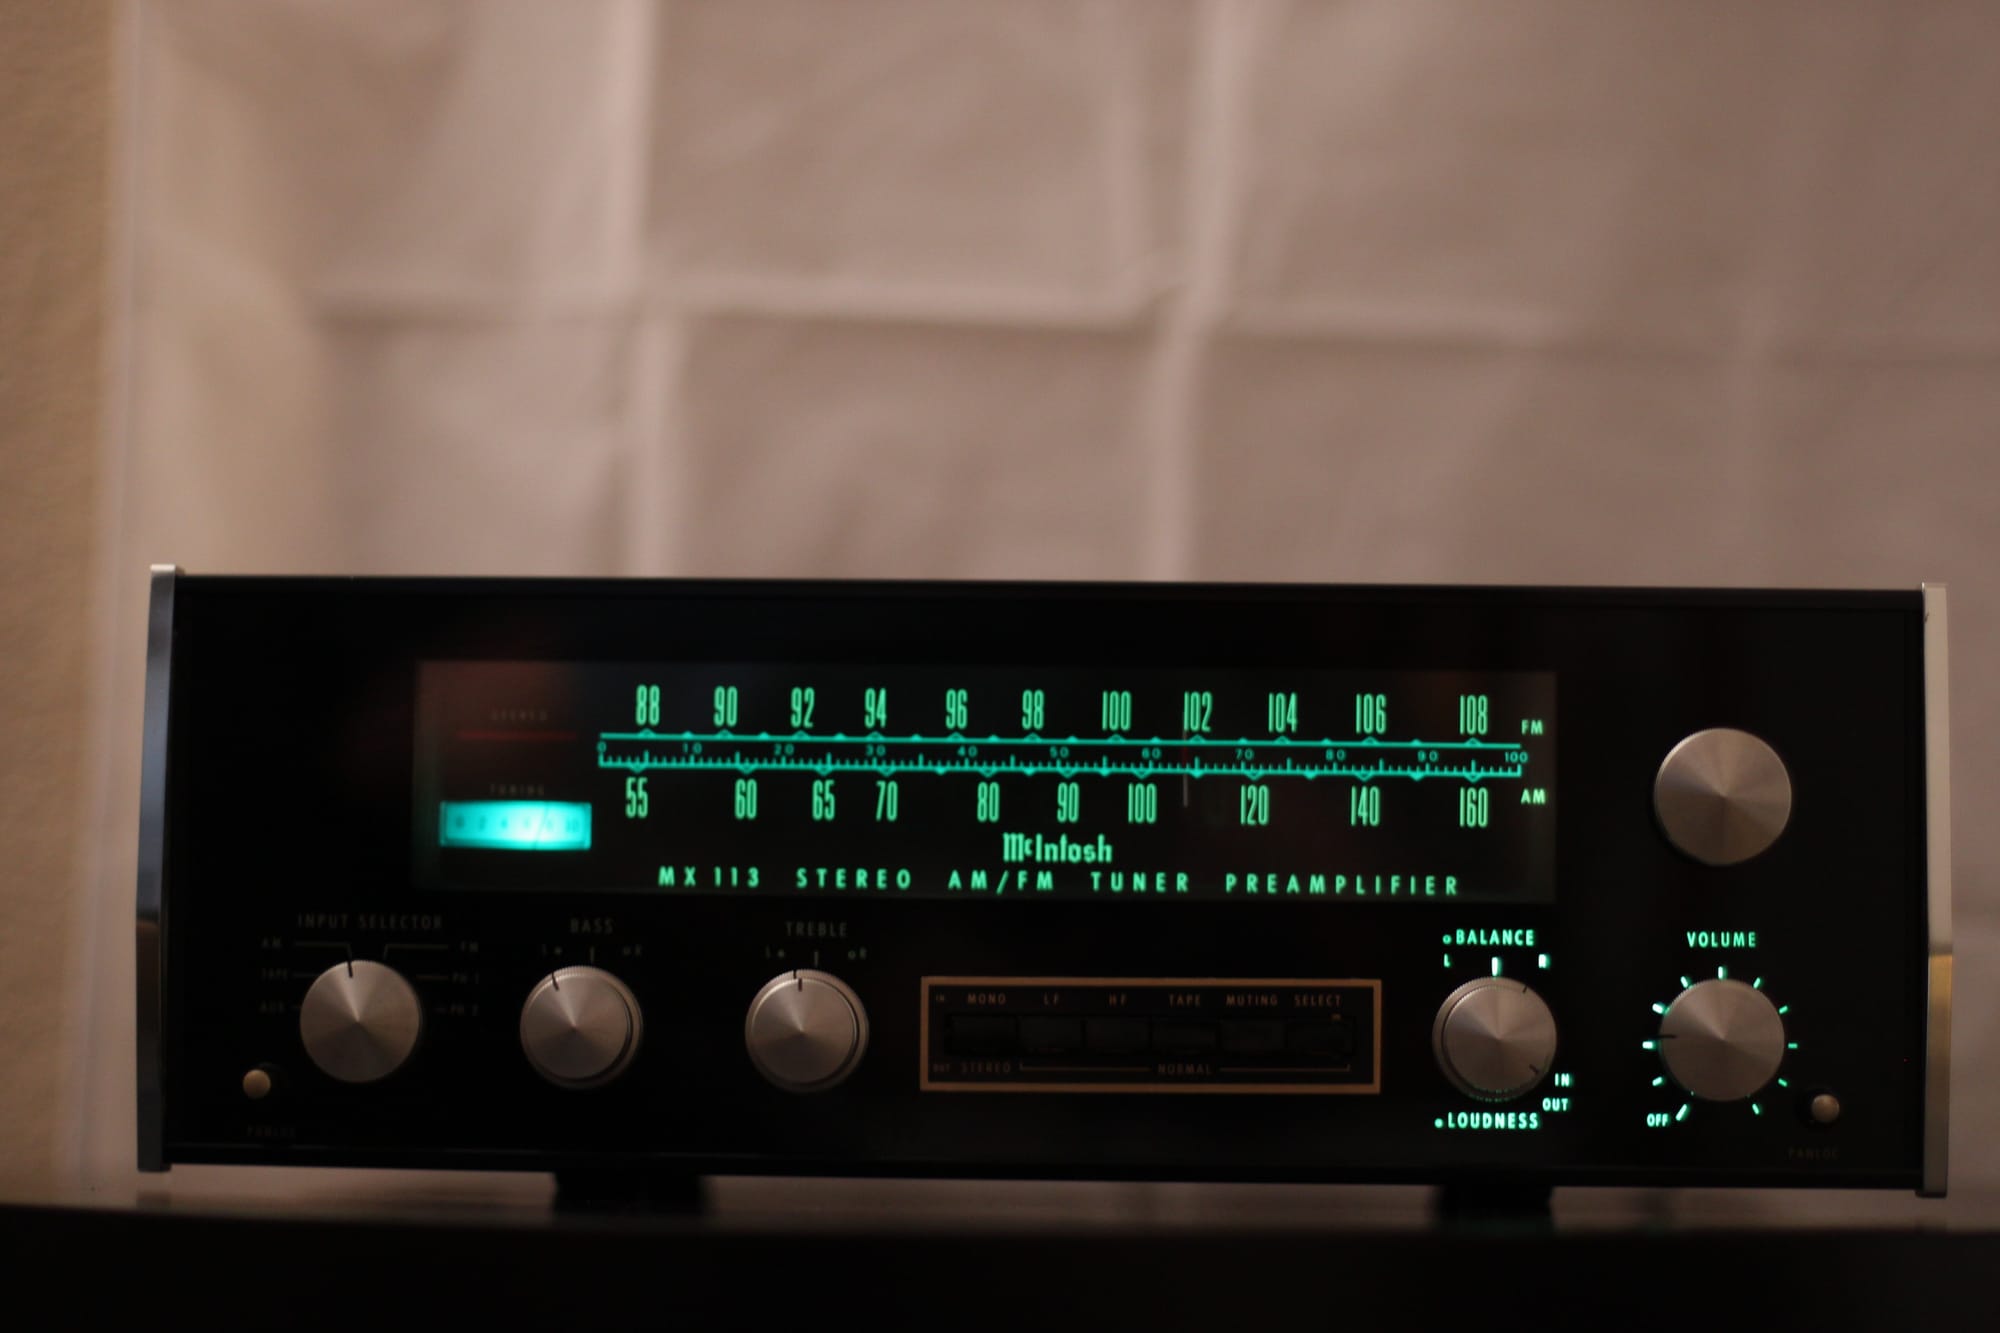
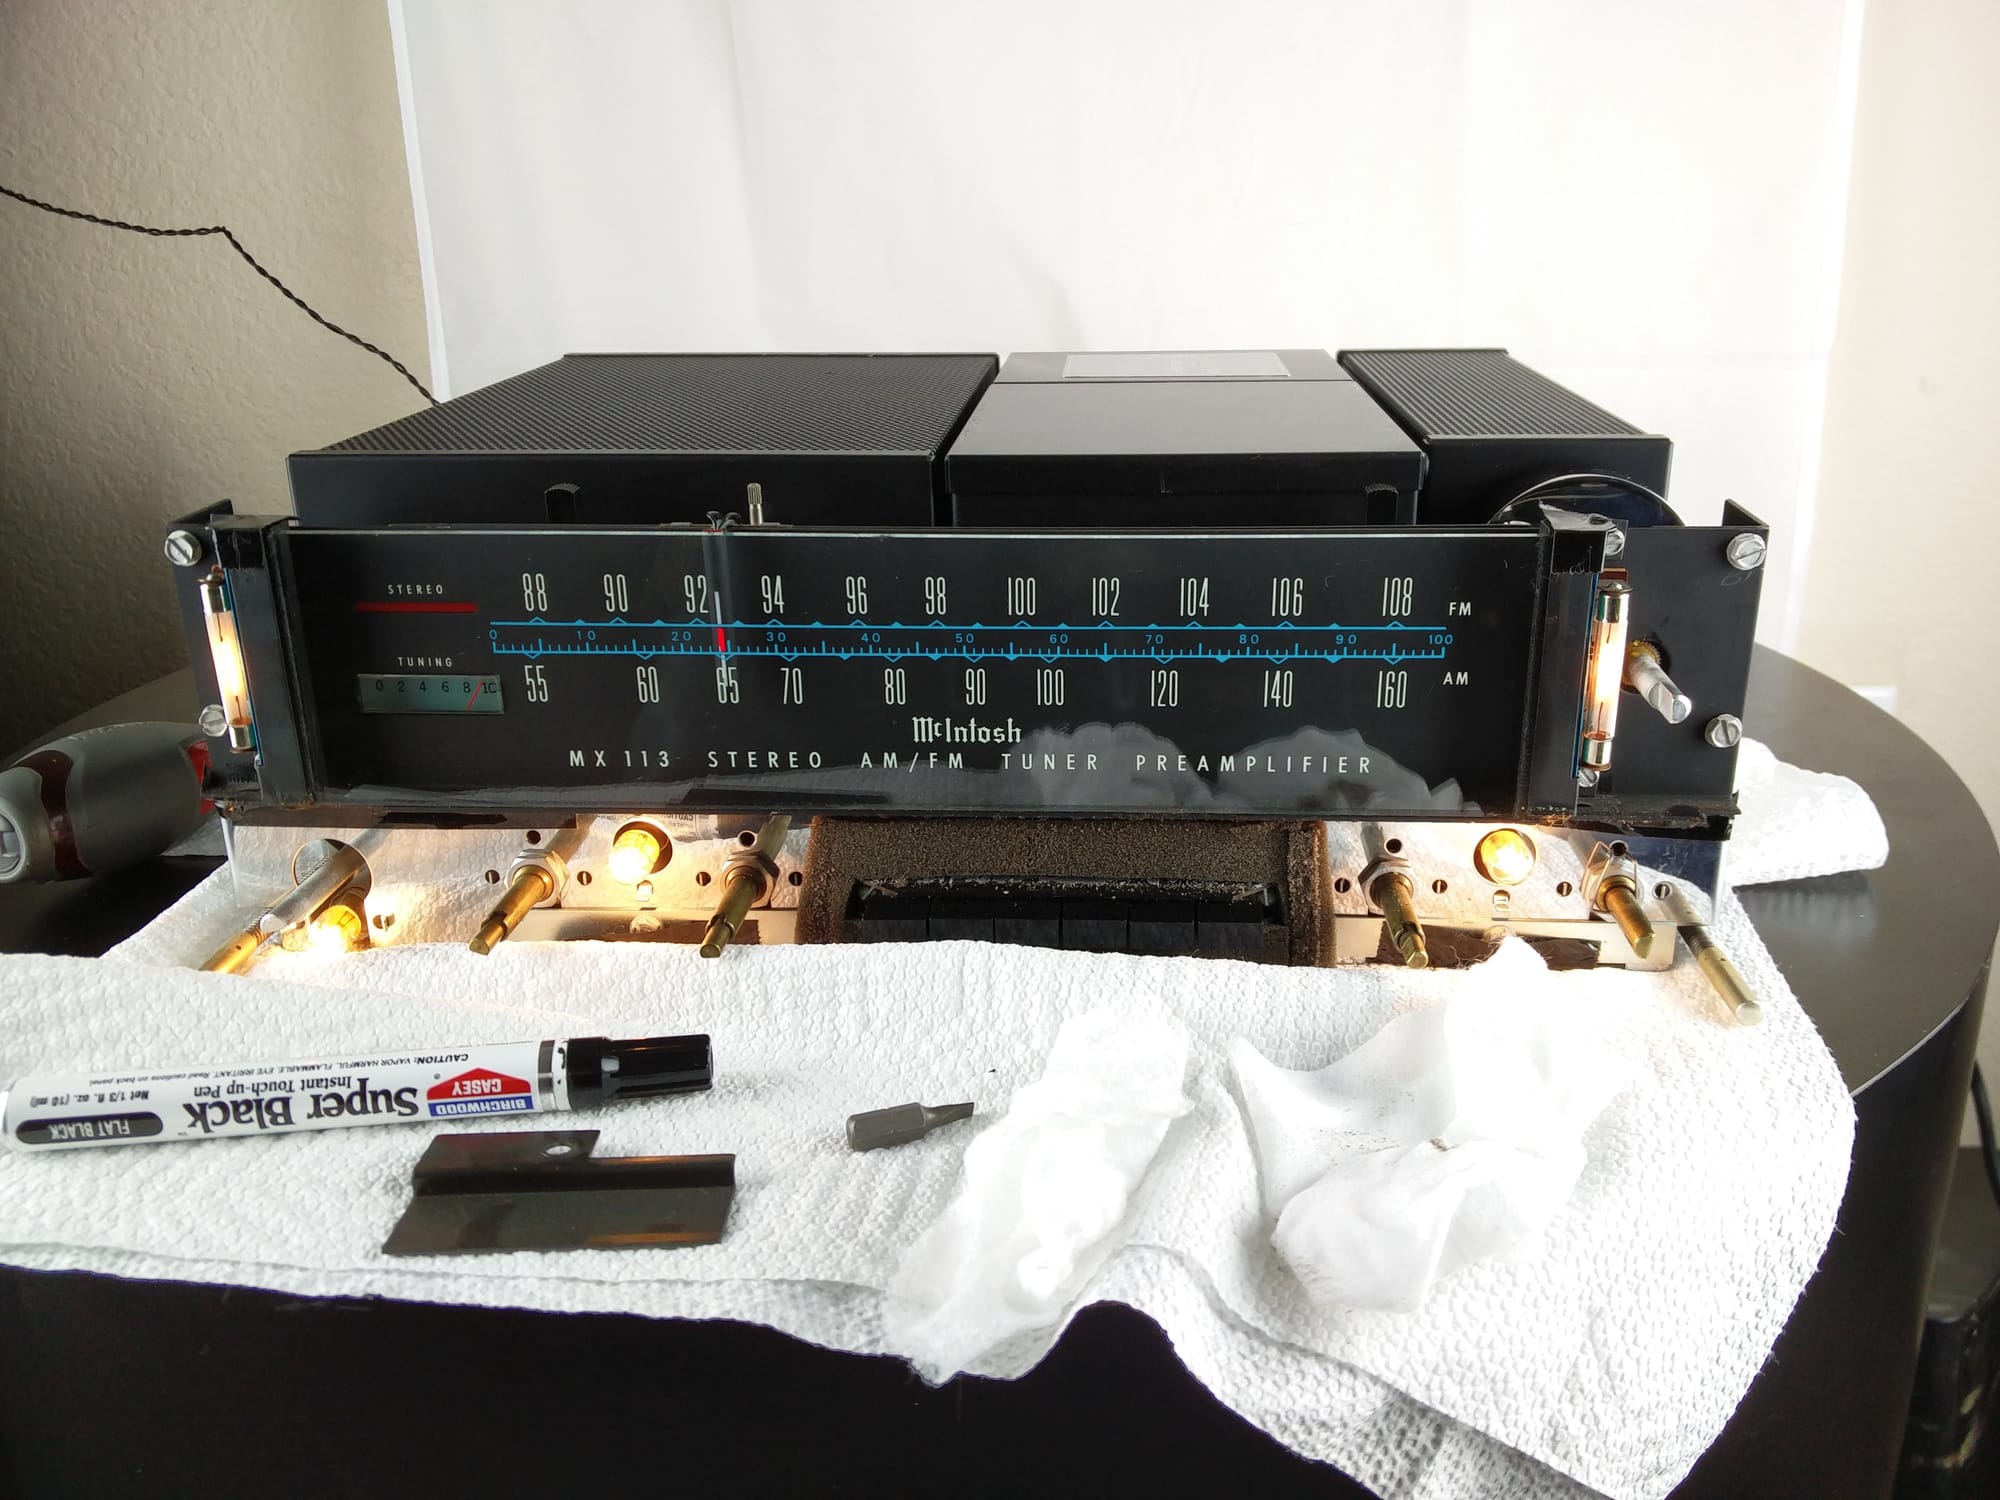
One of my favorite projects, servicing a McIntosh MX113 Pre-Amp, a $800-$2,000 device. Oct, 2016.
Armed with my trusty precision screwdriver set, my newfound knowledge, and the plethora of information from Jake's videos, I dived in. It didn't take long to get the camera apart, the most challenging initial step just being to get the leather bottom off the camera without damaging it. I wanted to keep the camera as original and intact as possible, but also while making improvements I had read and watched Jake's videos on.
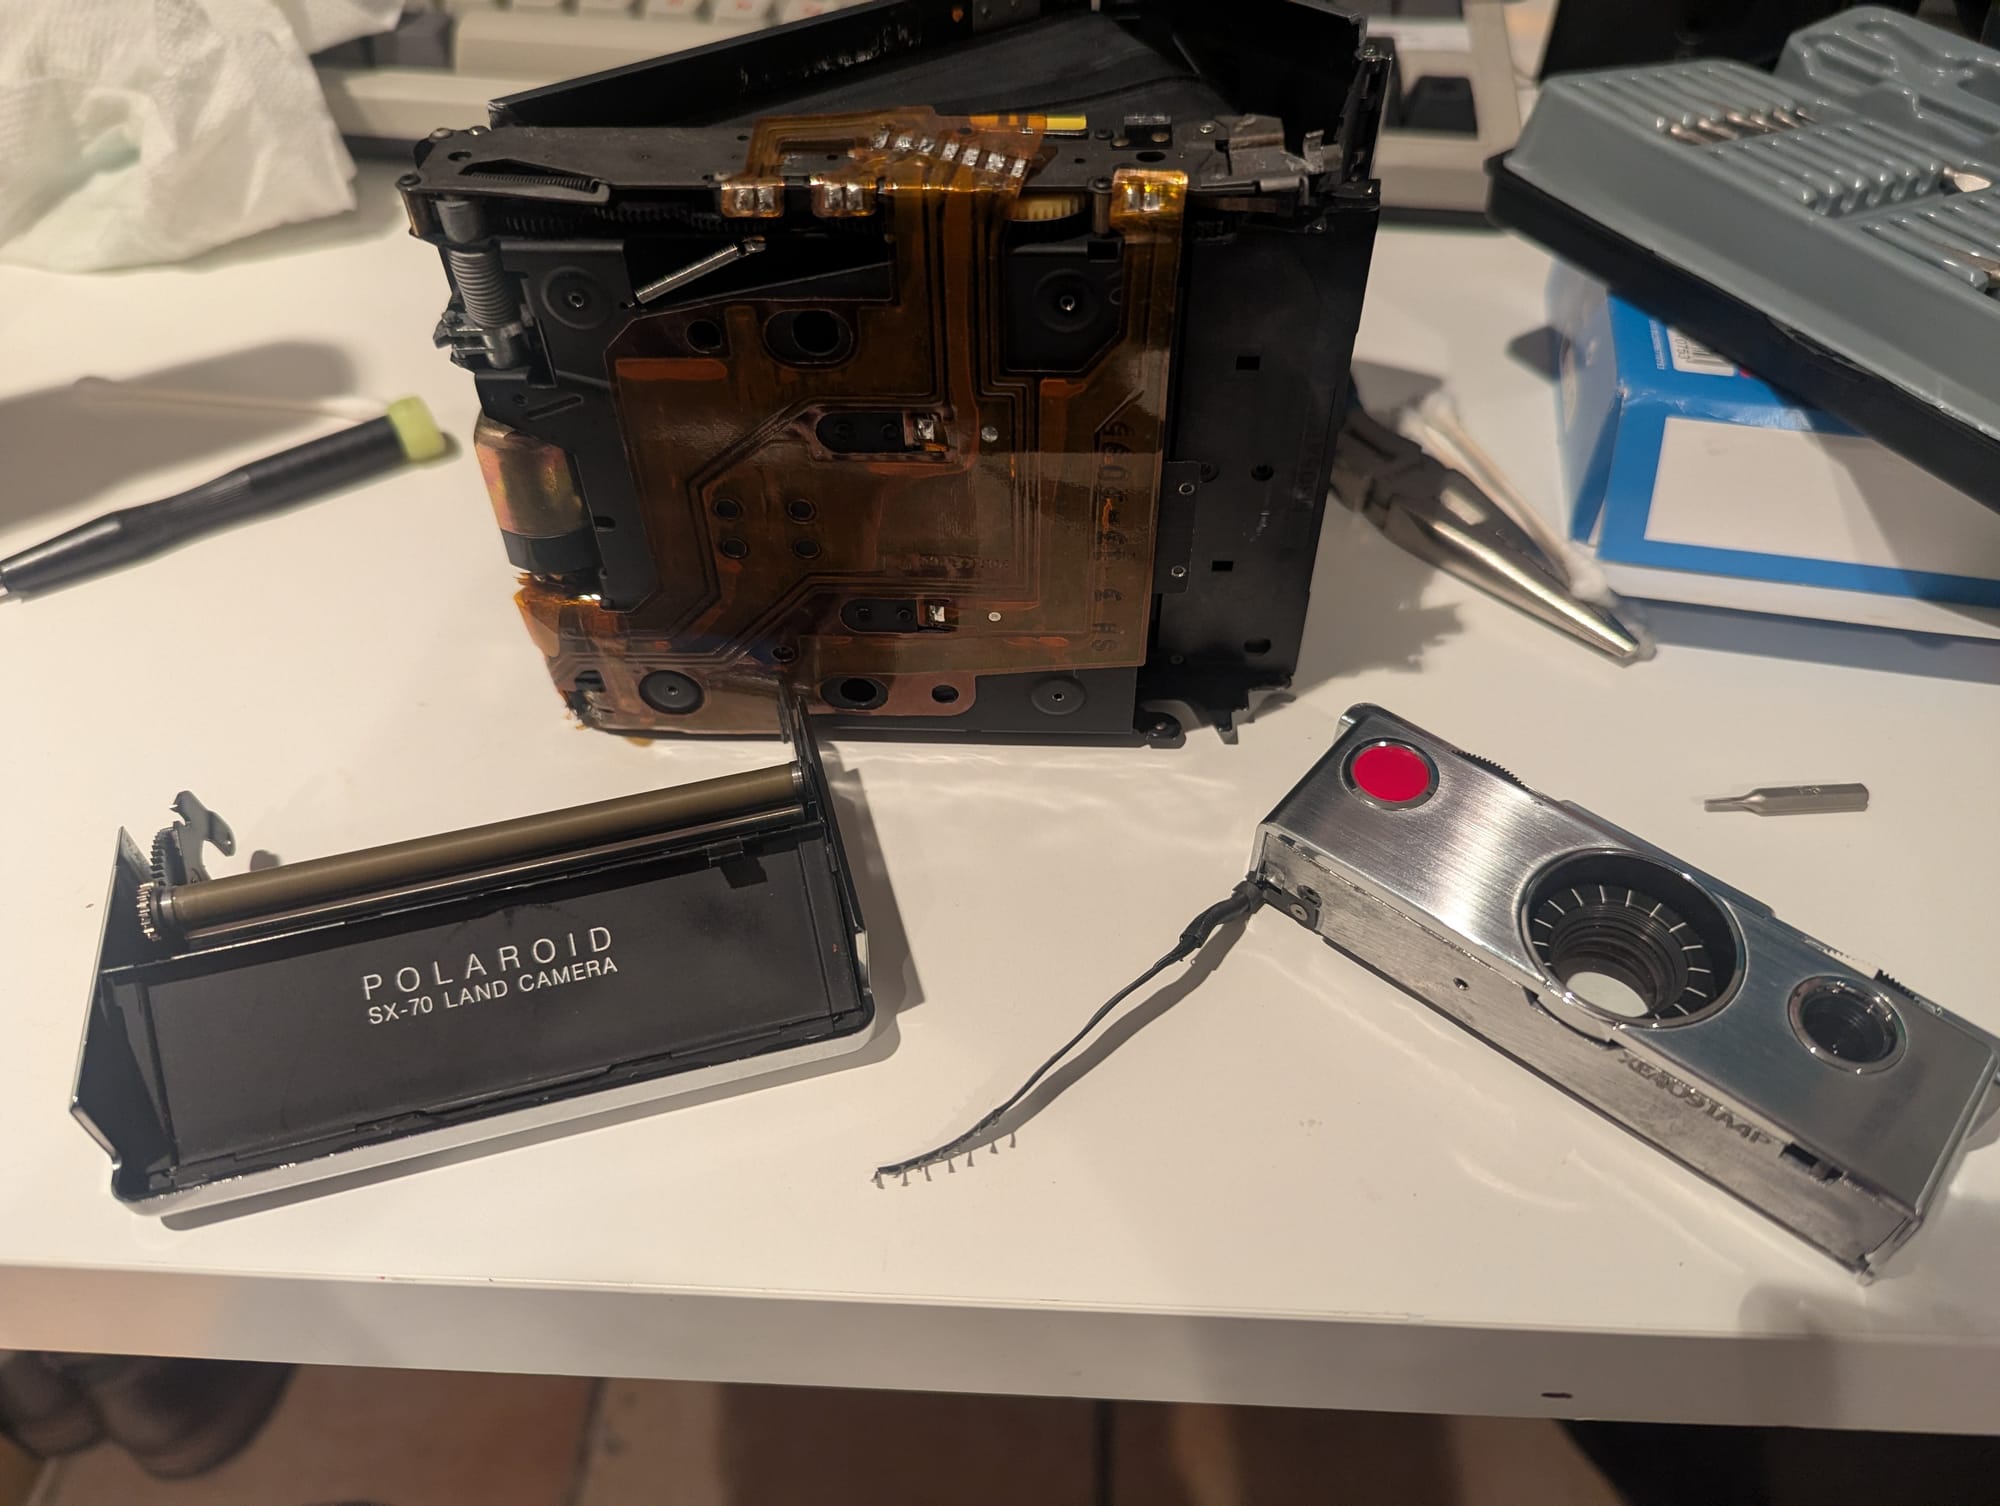

The first day I managed to get the shutter removed and body partially disassembled. I was hesitant to disassemble the main camera body, as removing the bellows from the lower assembly involved catching some rather pesky clips to release the bellows from the body. Polaroid had special tools to do this, but they have been lost to time. Jake has his own custom-made tool to do this, and does the process so quickly in his videos I couldn't hardly figure out what was going on with this specific step.
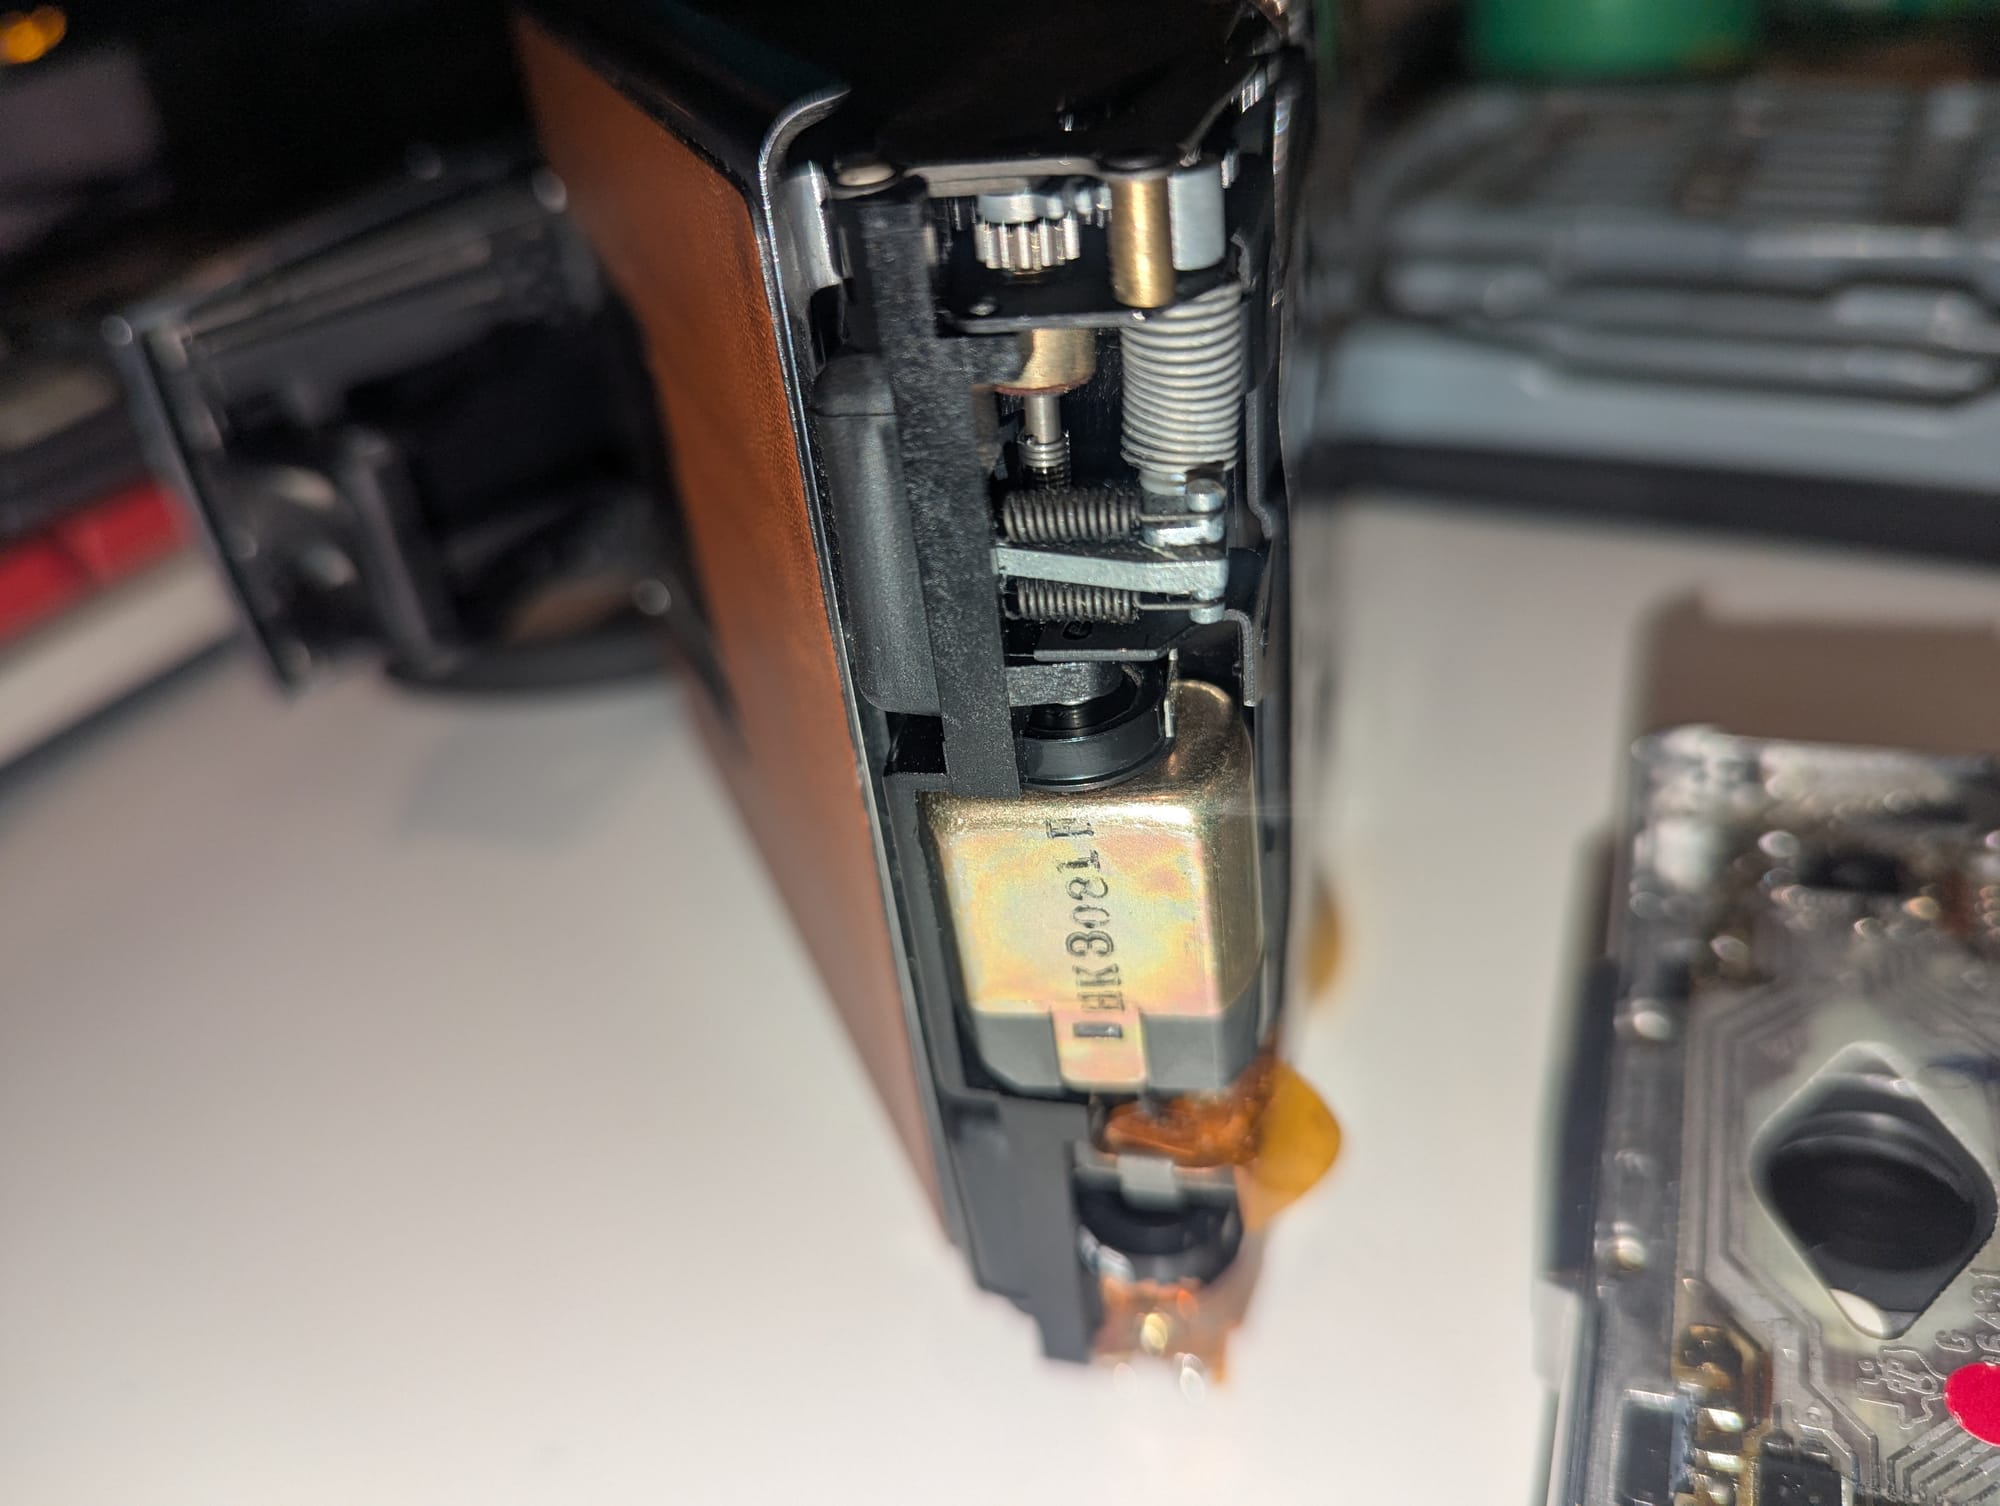
Instead I focused on the easier modifications first. I pulled the 6V DC motor out and cleaned the brushes and spindle. I modified the driveshaft to remove a plastic coupler that is a known failure point on these cameras. I inserted my newly empty pack of film into the camera, and the motor came to life with a newfound vigor I didn't expect. "Alright, now we're getting somewhere!" I thought to myself.
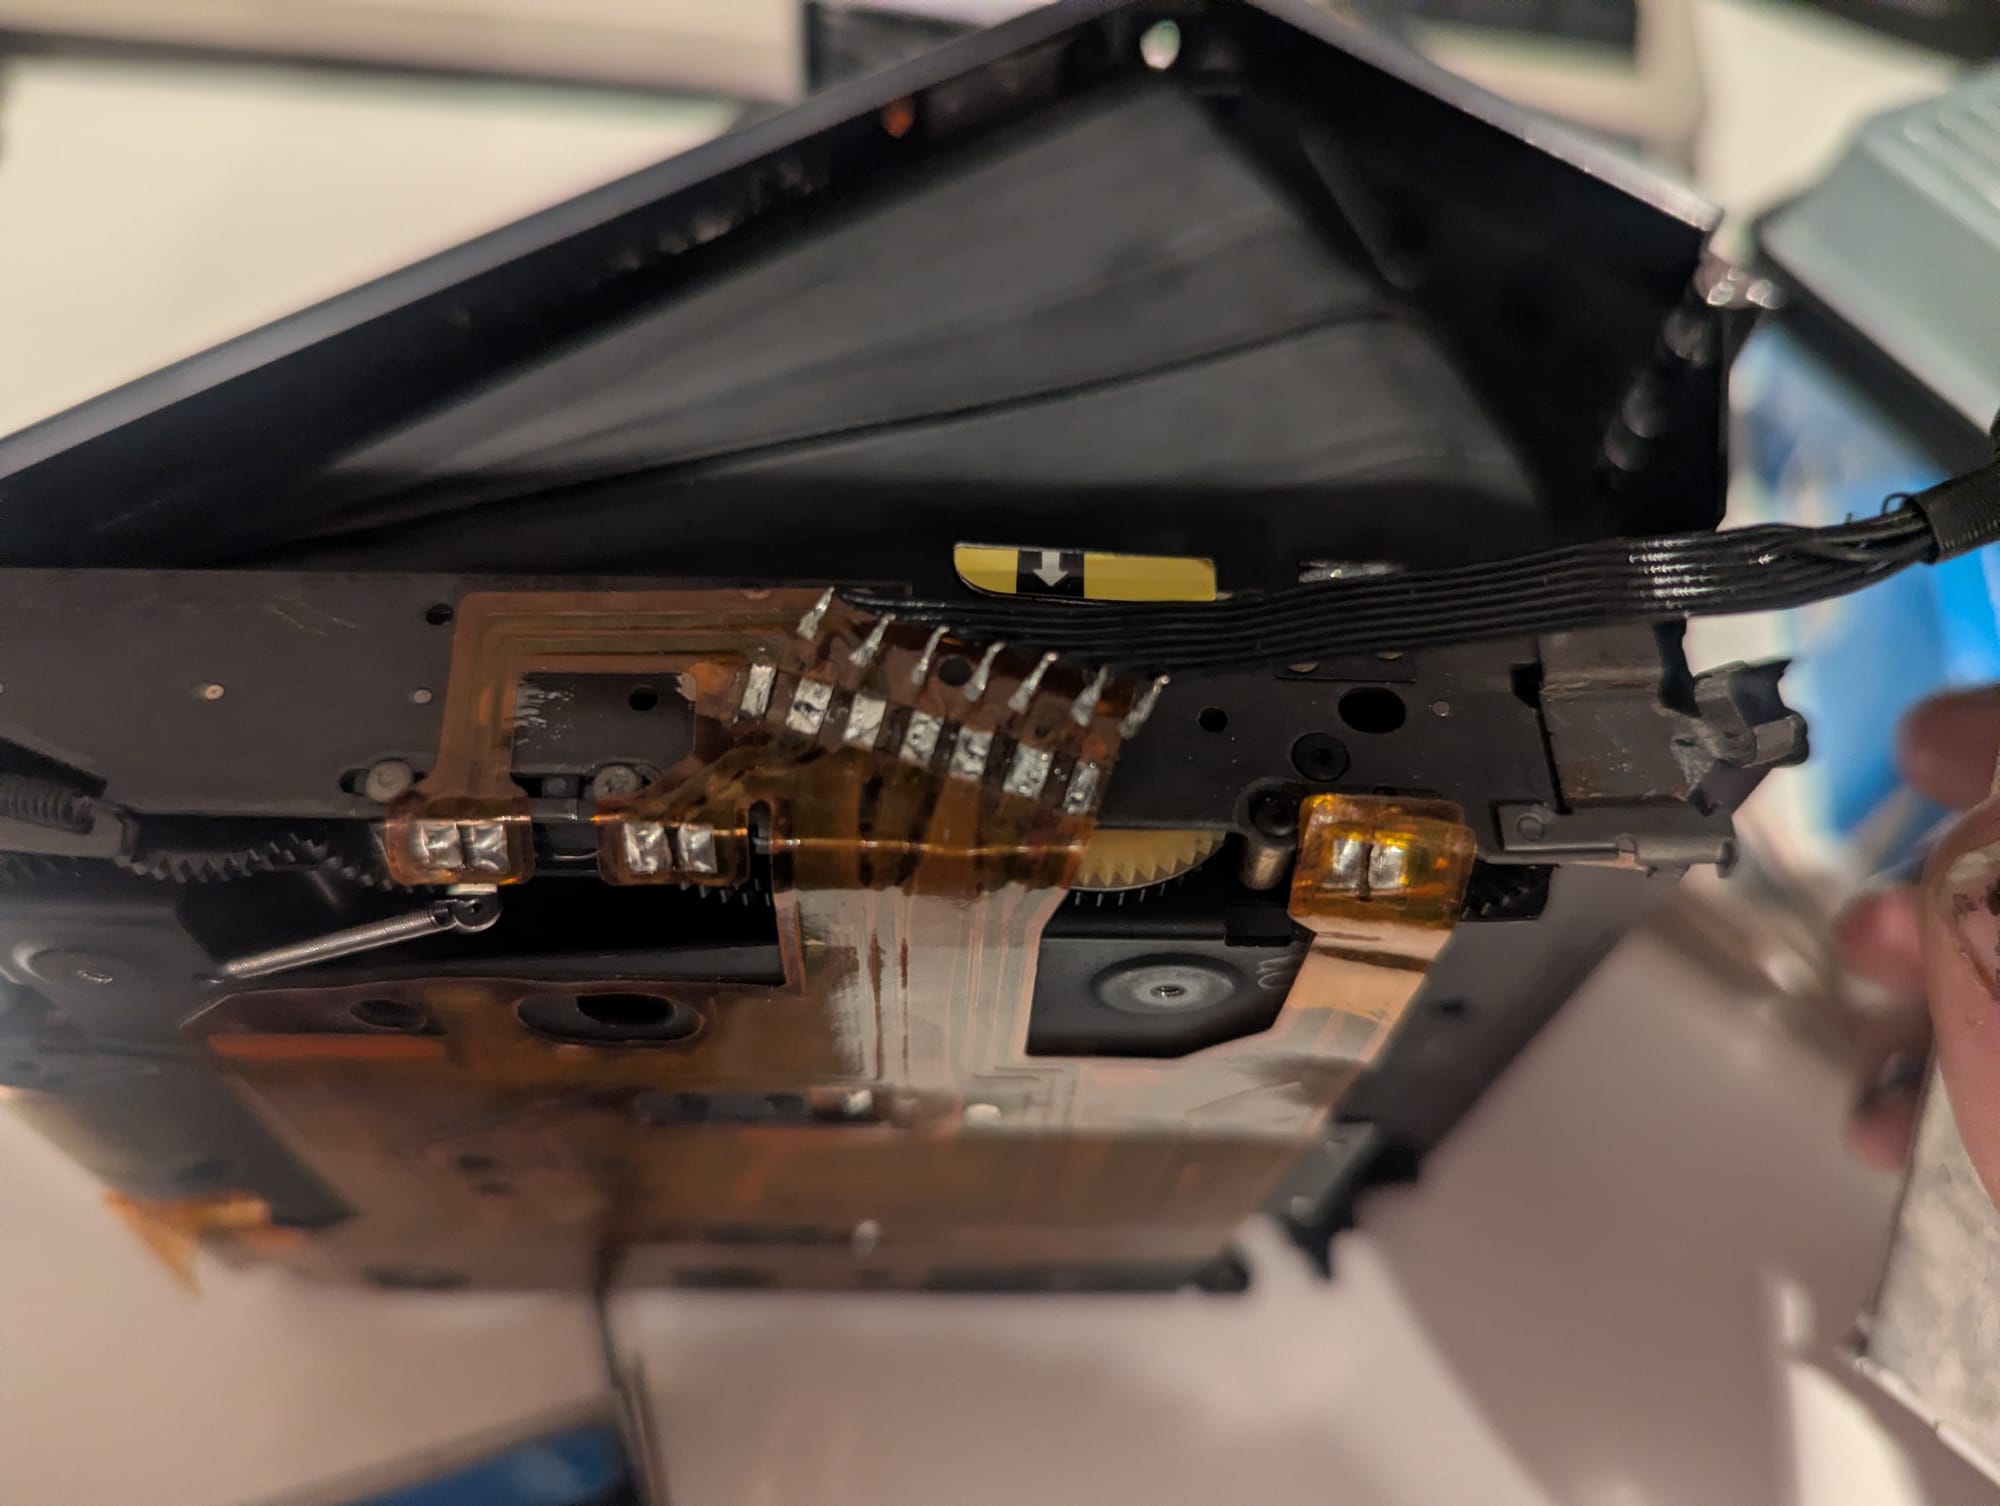
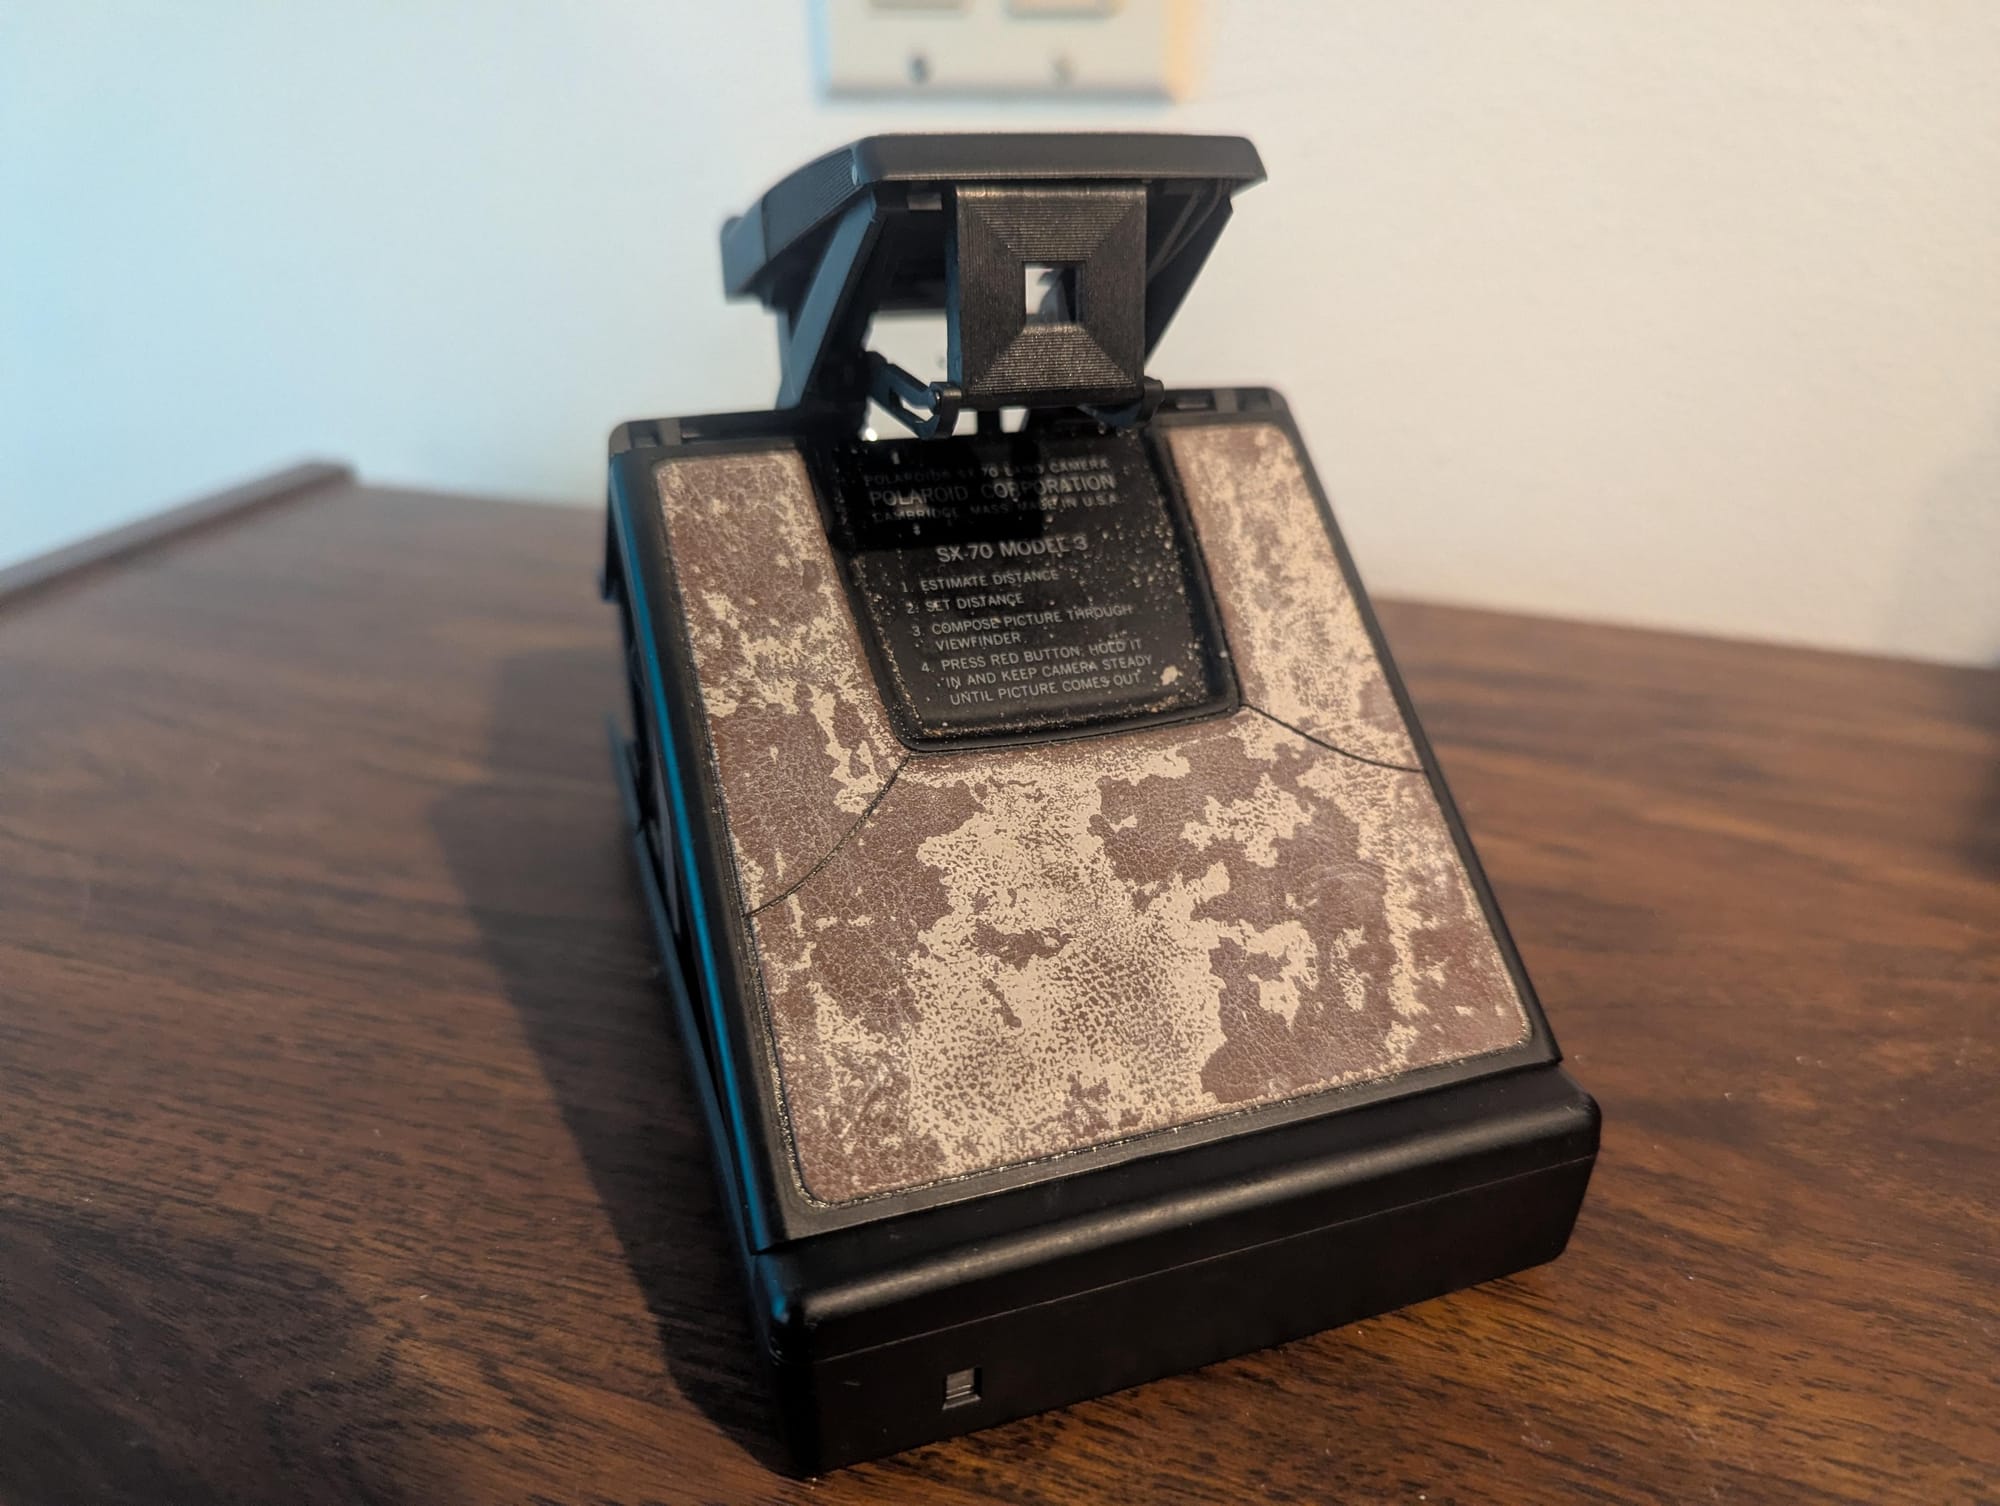
I modified the tongue on the main body to make insertion of different film packs easier, and I discovered I had a Texas Instruments PCB variant of the Model 1. The serial number on the camera was worn off (not pictured), and I tried my best to figure it out and run it through a decoder. The best I could come up with was that this camera was manufactured in 1973, a 52 year old camera.
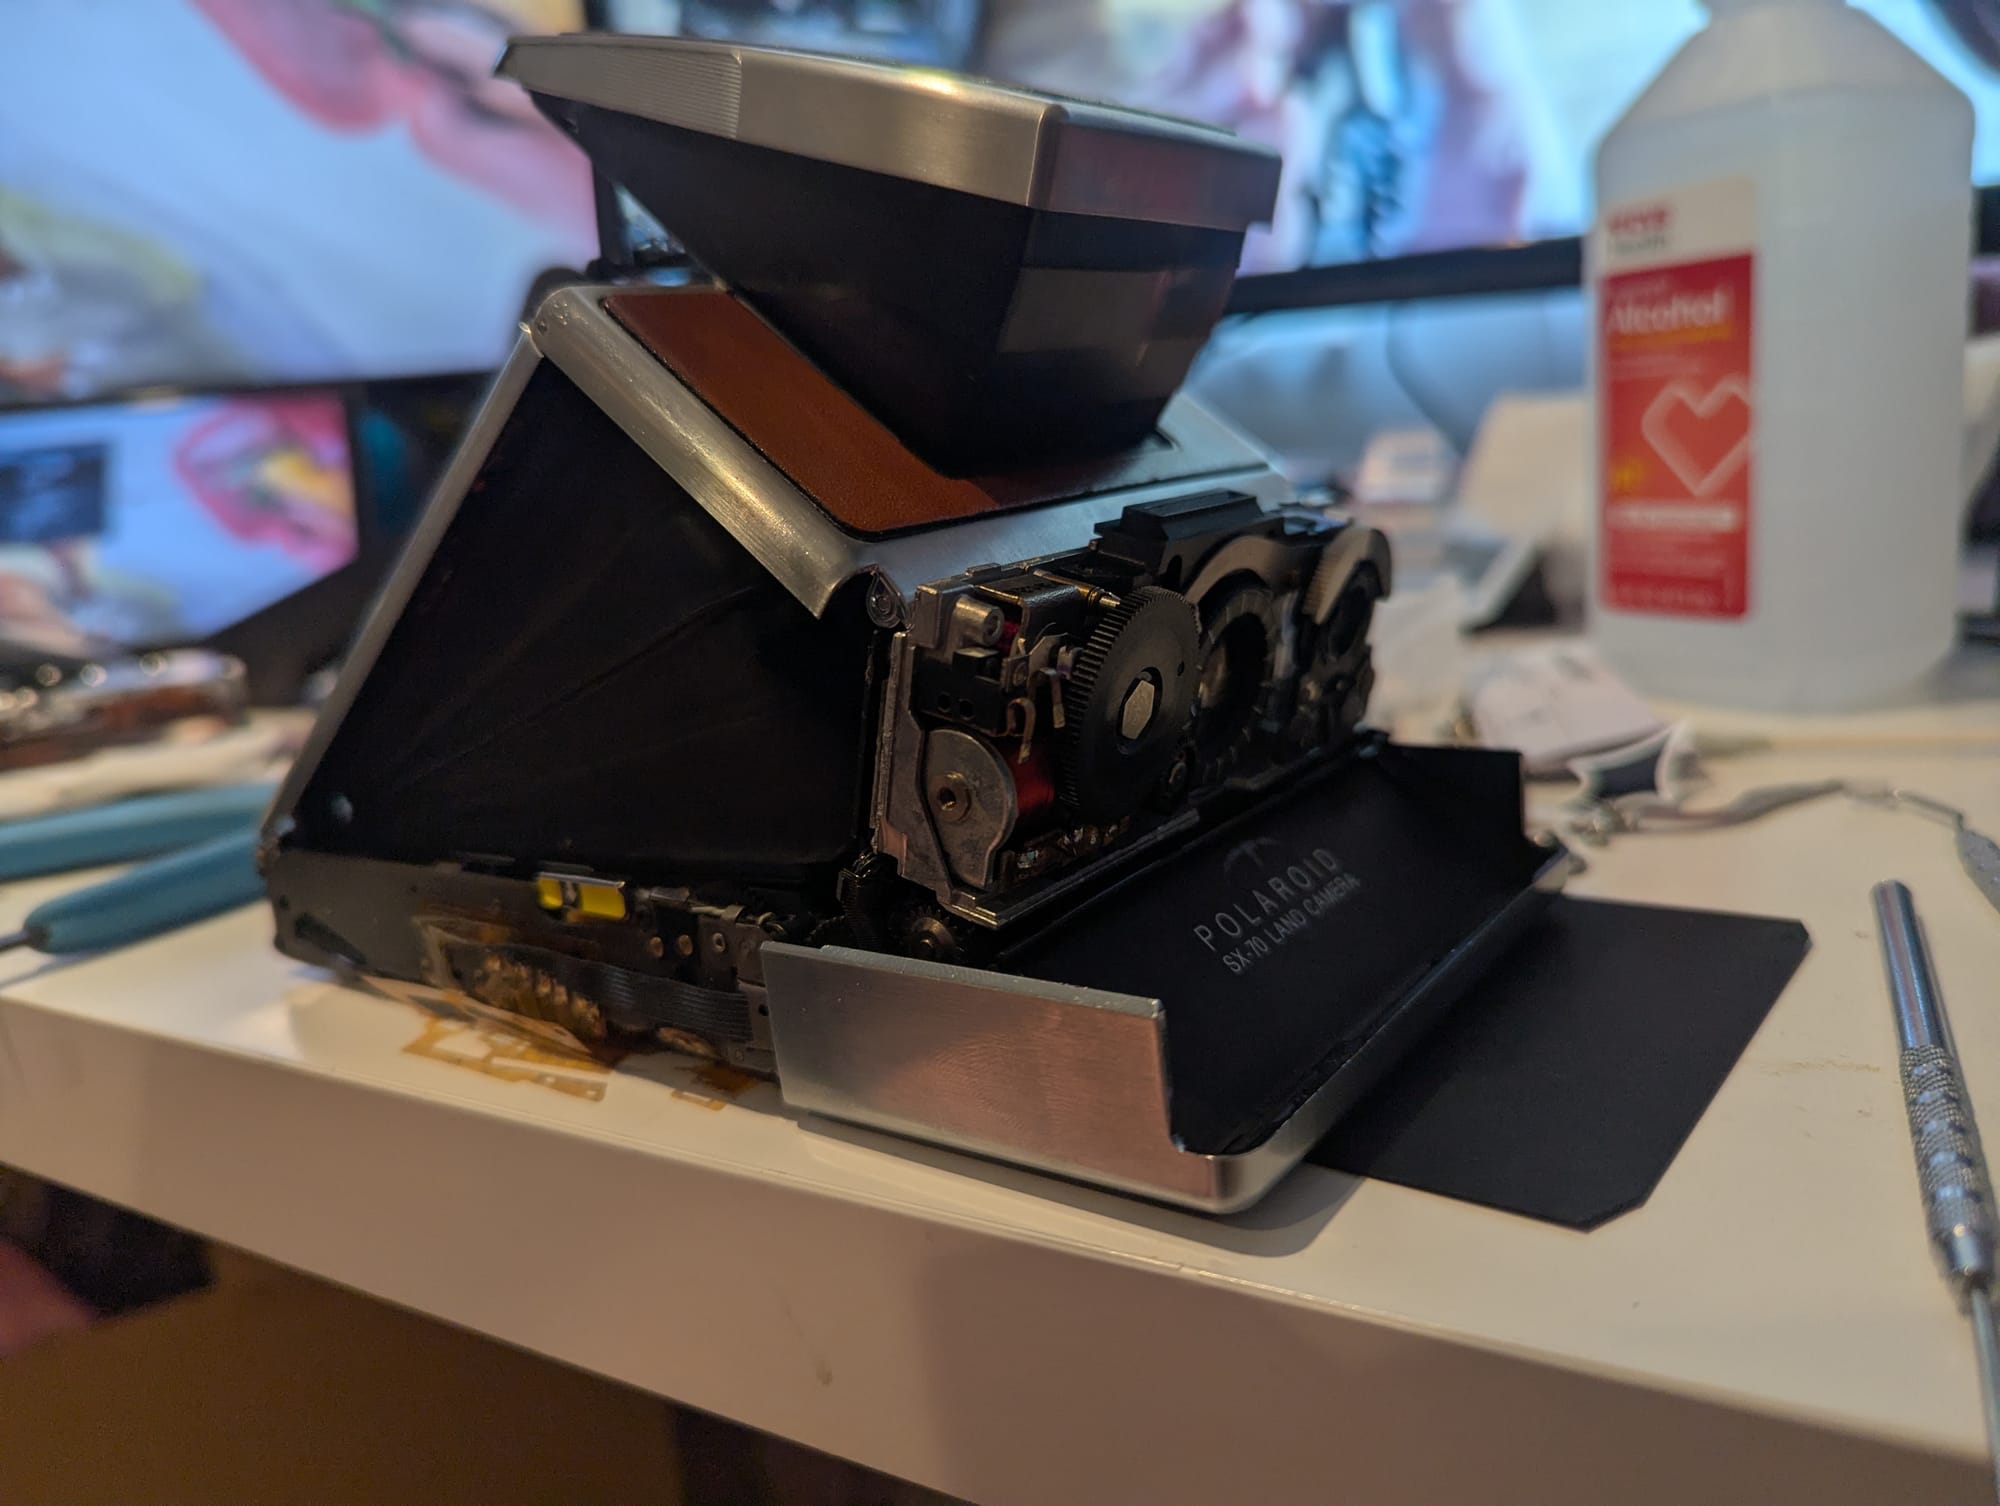
The next day, I took on the challenge of disassembling the main body. Getting the hinge pins out was easy enough, and then came the bellows clips. After spending about an hour looking at the camera, looking at diagrams, observing Jake's process, and looking at the angle of his tool, I finally figured out how to pop the clips off the bellows.
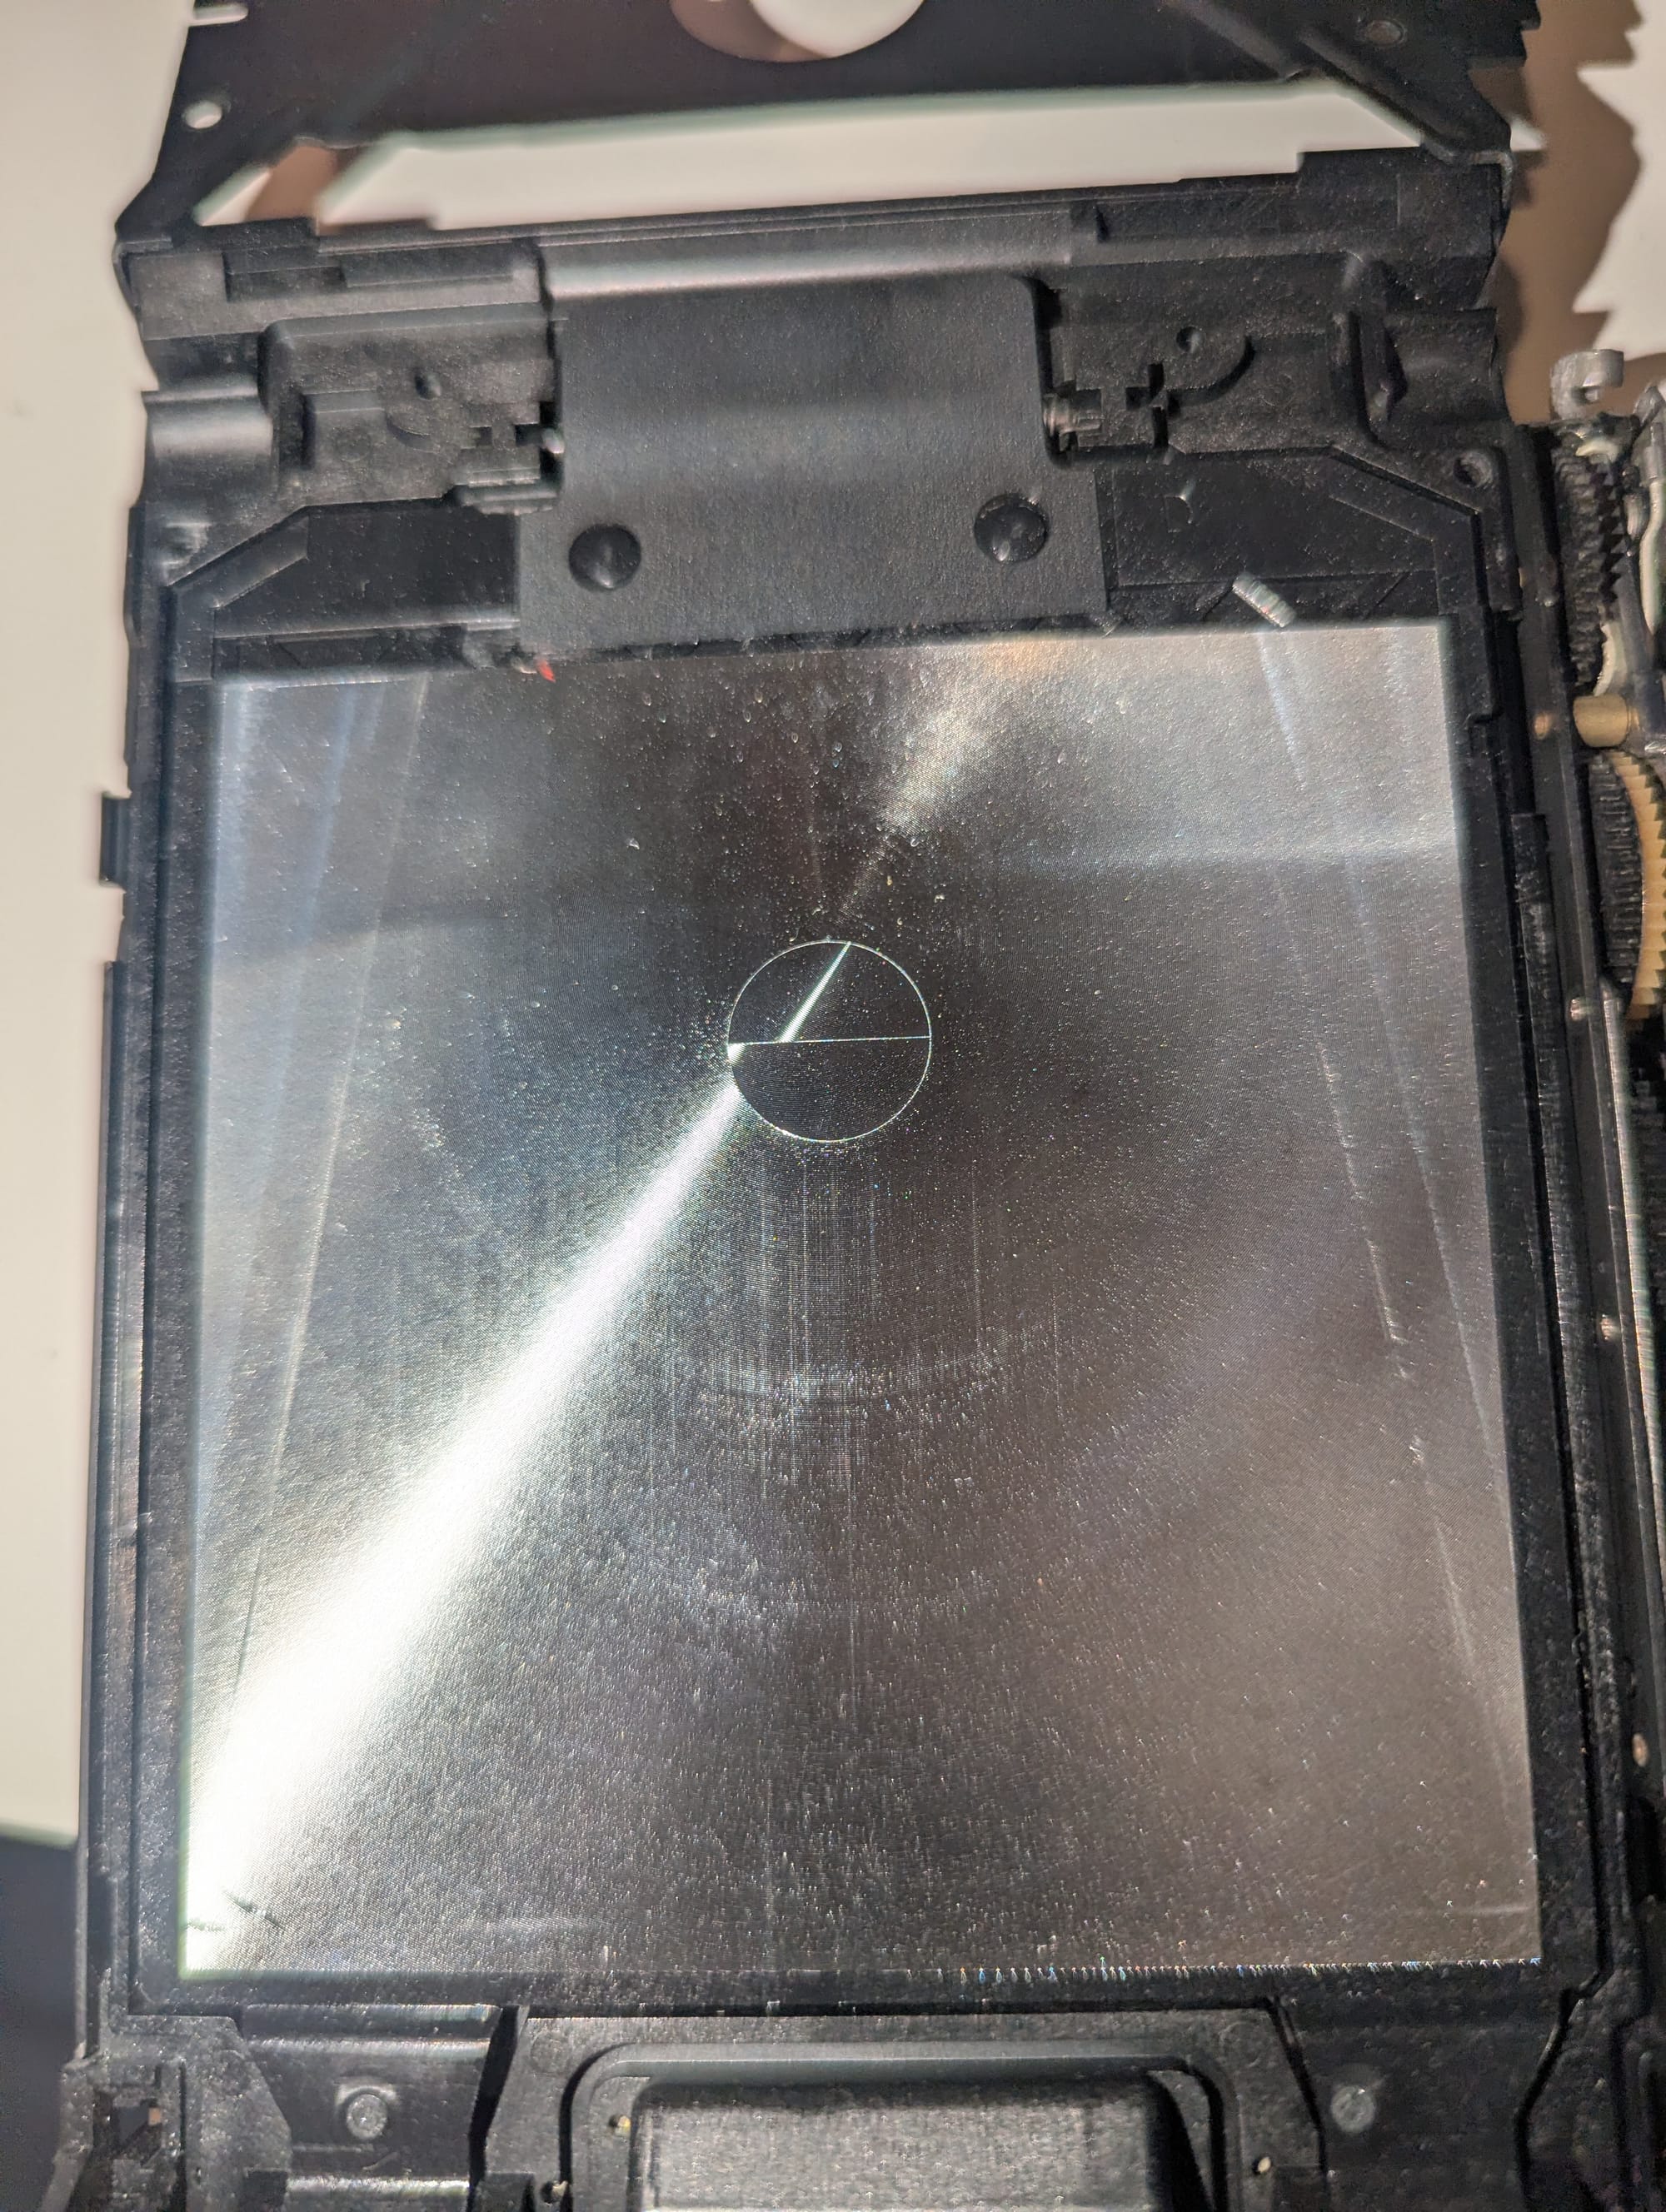
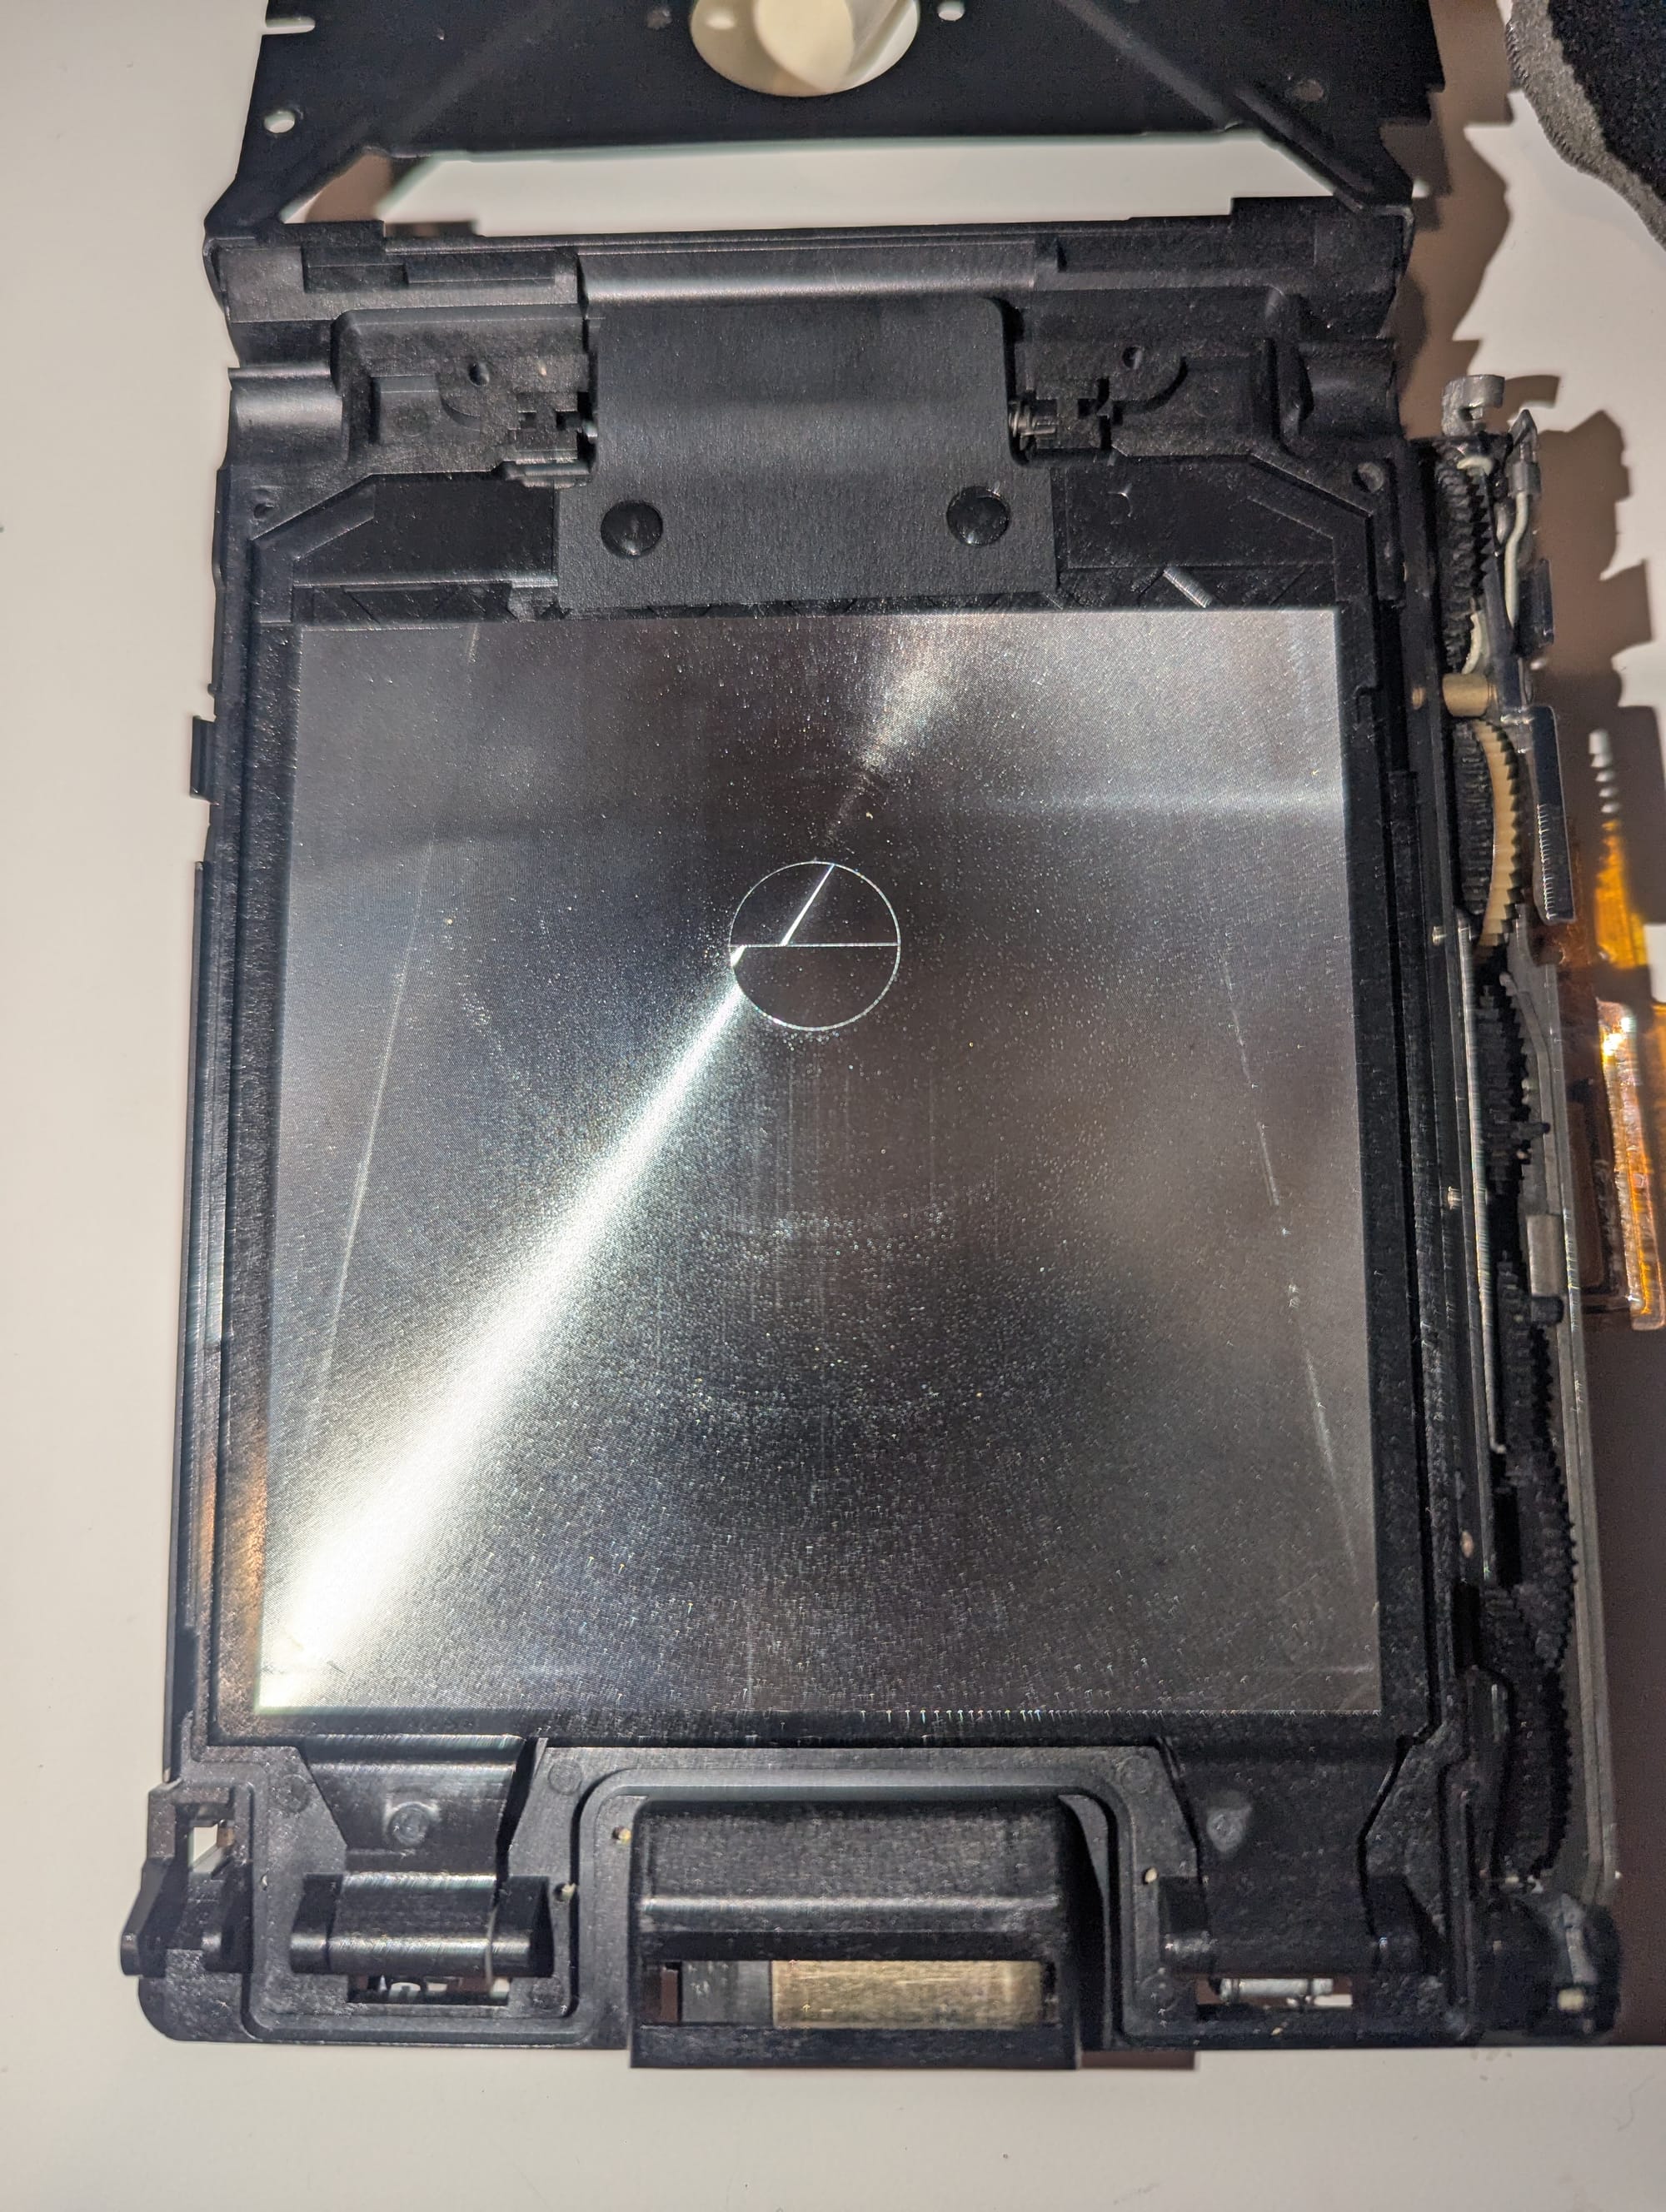
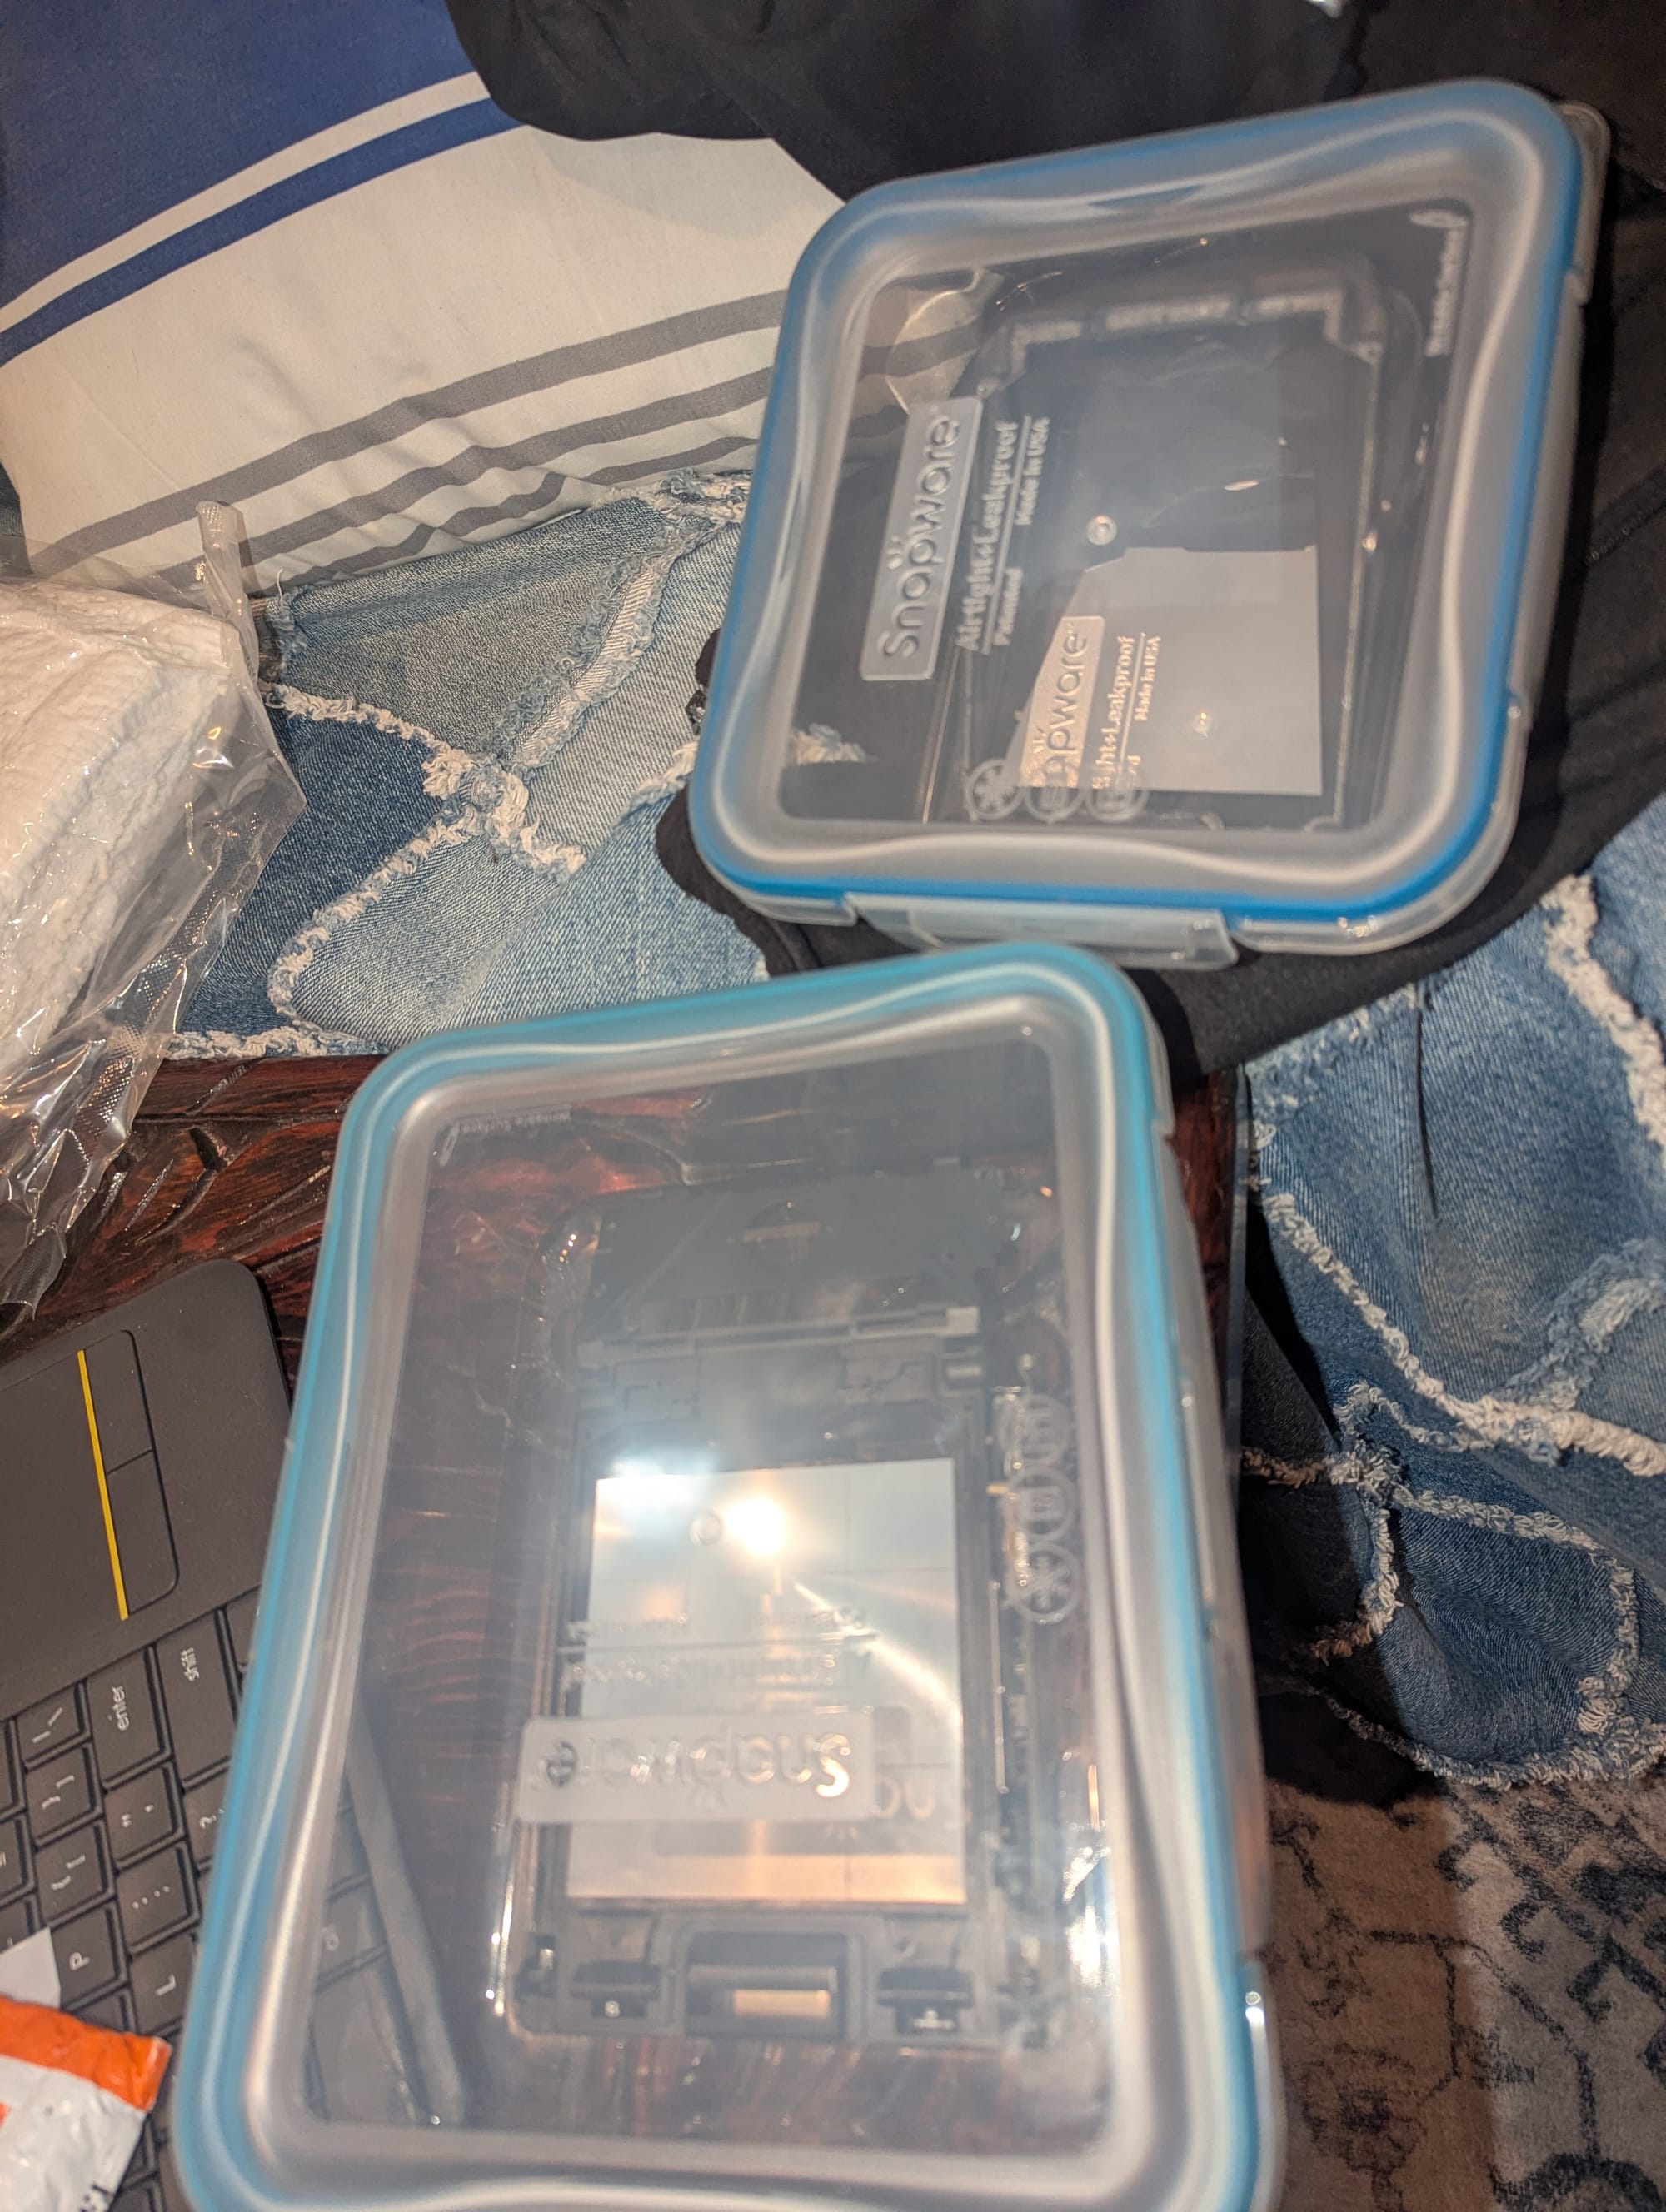
The inside of the camera was remarkably clean for its age, but the fresnel lens was a bit dirty. I tried my best to clean it, but was ultimately worried about damaging it and left it alone after minor cleaning. The silicone holding the upper mirror in place was failing, just as Jake had predicted in his videos. I removed this and re-glued it into place. I then sealed the two components of the main body in tupperware to prevent dust from collecting on them. It was going to be a few days before I could re-assemble the camera.
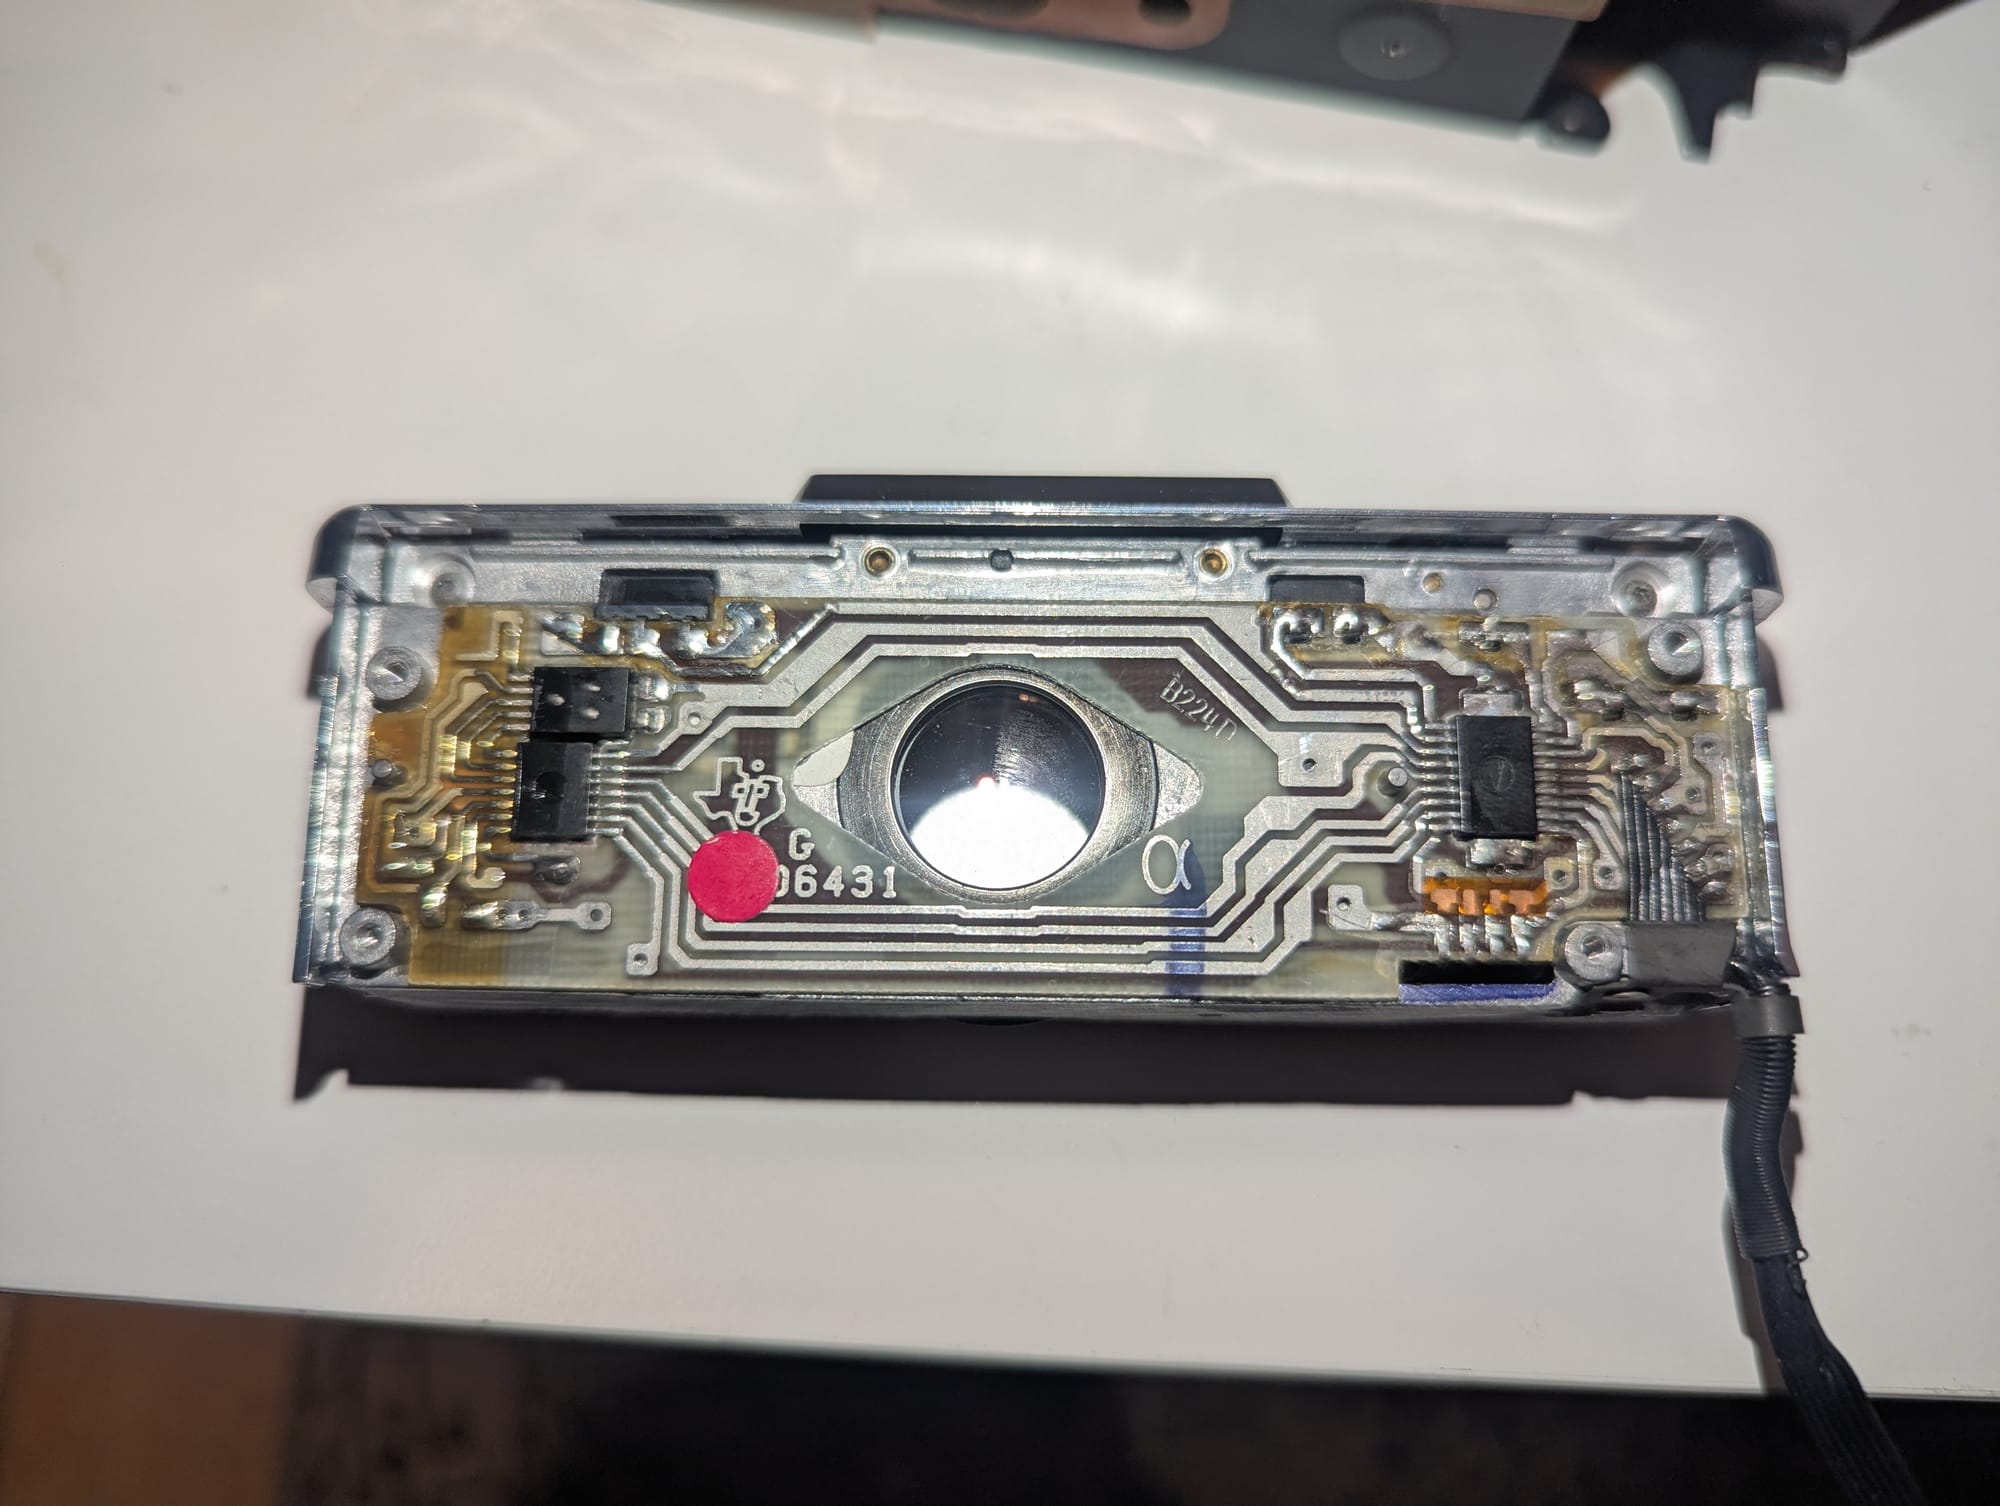
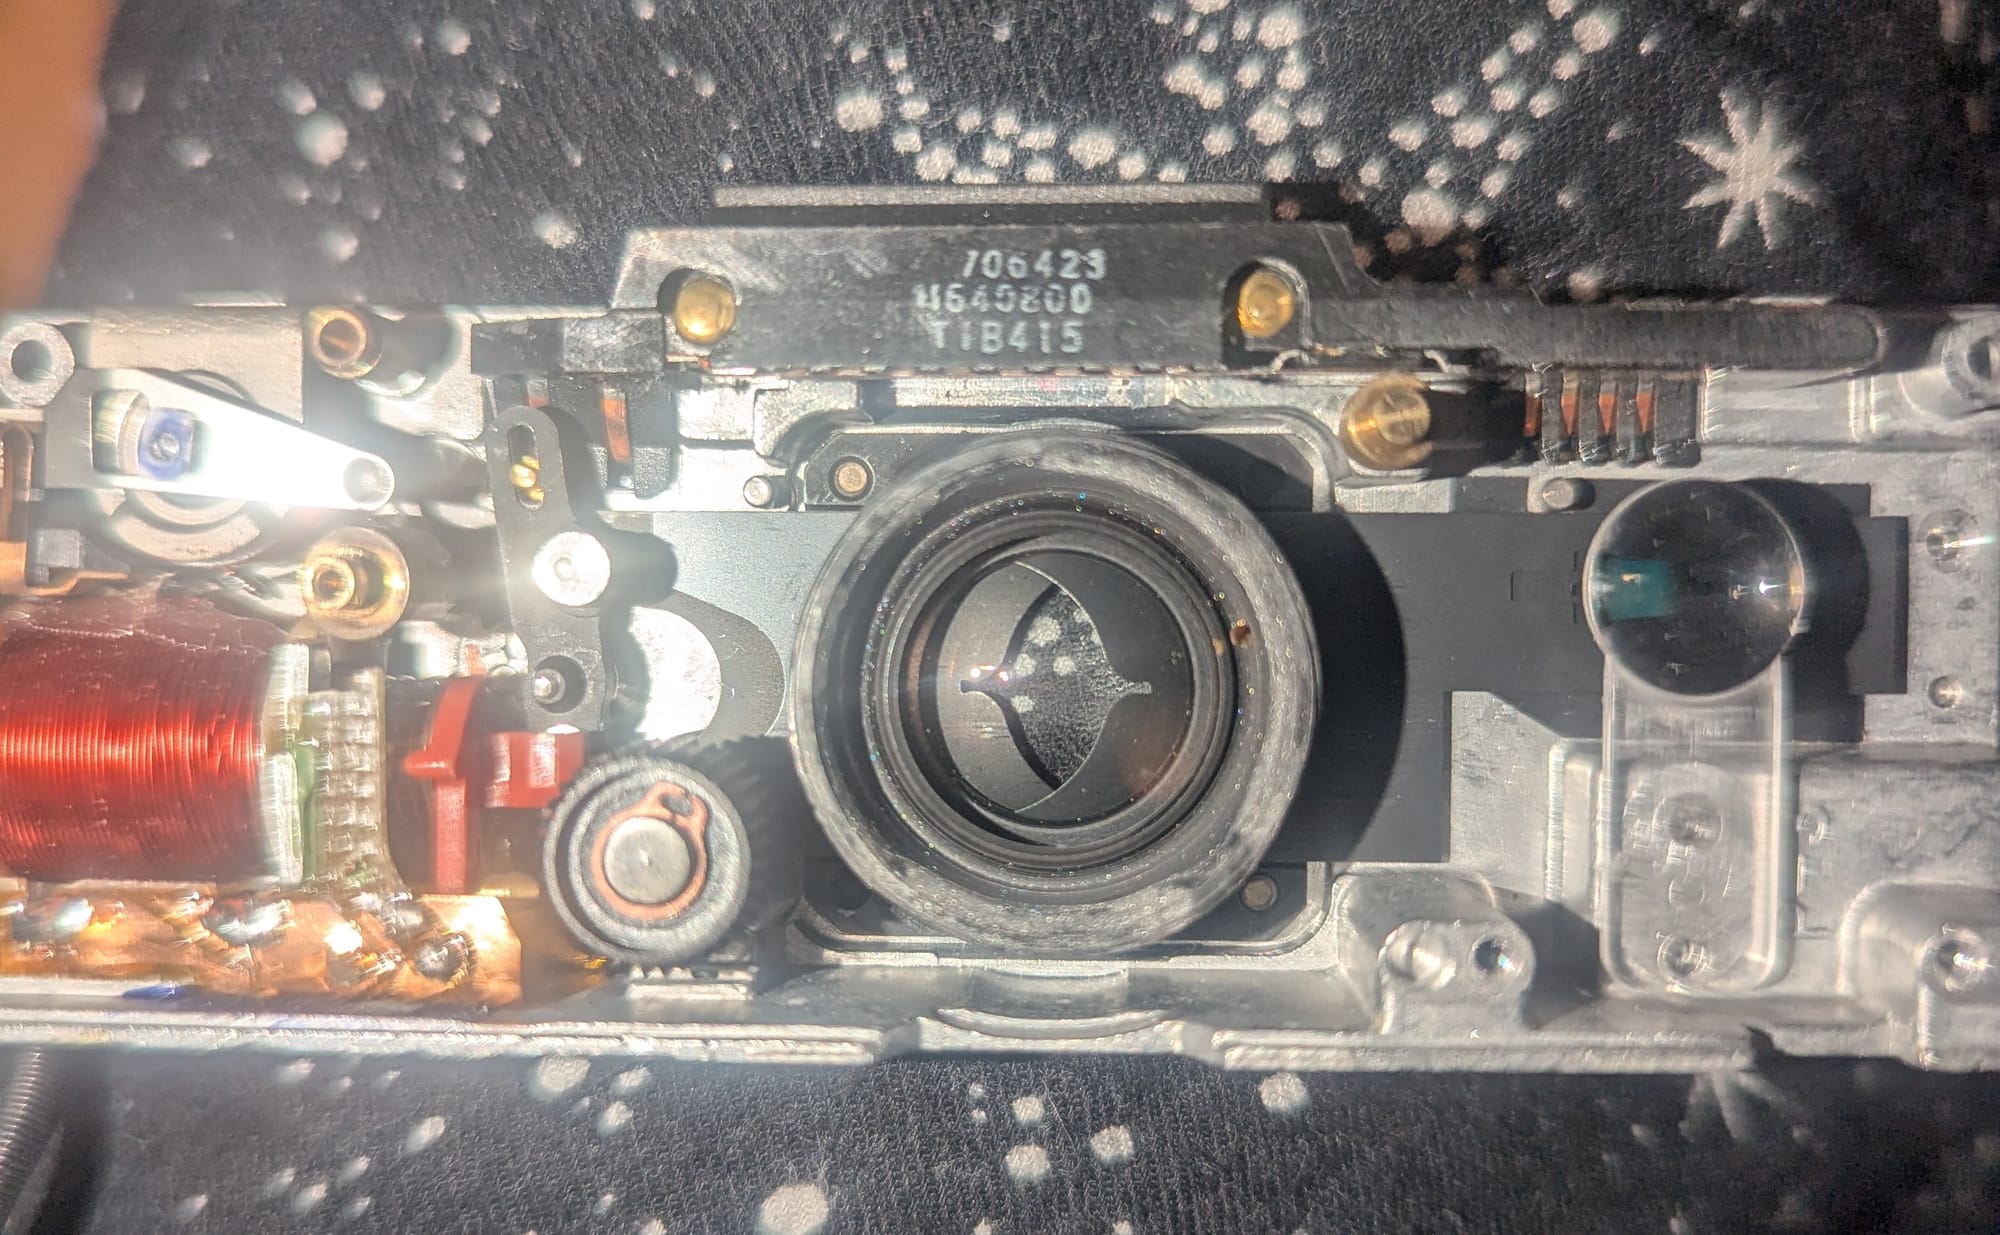
I started working on the PCB, and discovered my original capacitor was likely to be an 800pf capacitor. By reducing the size of this capacitor, I could speed up the capture speed of the SX-70 and effectively convert it to use the Polaroid 600 film. I cleaned the electric eye that senses how much light is in a scene, and after making a judgment call I decided to reduce the capacitor size by a factor of four, to 200pf. Without the proper tool to check the capacitance of the original capacitor, this was mostly guess work based on research and hunches.
I started working on the shutter assembly itself. Jake's videos had warned that the shutter blades in the original Model 1 had an anti-static layer on them that was prone to rubbing off and causing the blades to stick, and gunk up the assembly. In trying to replicate his method for removing the shutter blades without de-soldering and removing the solenoid, I made my first mistake and severely bent the top shutter blade. After cleaning, applying graphite, and reinstalling the blades I had actually introduced the exact problem I was trying to prevent. The shutter blades wouldn't naturally return to rest.
I promptly removed the shutter blades again, and in attempting to repair the bends and fix the first shutter blade, I made my second mistake and damaged the shutter blade beyond repair. Whoops.
I took online and quickly found a cheap SX-70 Model 3 listed for parts, un-tested, shipped in for about $25.
shutter focus and light/dark wheel removed as these two photos are from after I robbed it for parts.
Even looking at the listing I thought it was obvious the camera was damaged mechanically. I was already aware the newer versions were plastic and made with sub-quality materials, explaining the damage to the finish. However, the red shutter button was gone, the viewfinder was missing the blinders, This camera looked NOTHING like my Model 1.
It wasn't until watching Jake's video on the SX-70 Land Camera Model 3 that I realized I landed into the perfect parts donor for my Model 1. The camera was likely functional, but Polaroid redesigned the Model 3 due to a manufacturing error on a batch of fresnel lenses. The Model 3 wasn't actually an SLR camera, and is quite possibly the most hilarious variant of the SX-70 Land Camera. I highly recommend watching the video if you wish to know more about this variant.
I quickly removed the shutter housing, disassembled the shutter assembly, and with my newfound knowledge on how to properly remove the shutter blades, took them out of the Model 3. Thankfully these blades did not have the anti-static layer on them, so I installed them directly into my Model 1 and tested the mechanism. Smooth as butter.
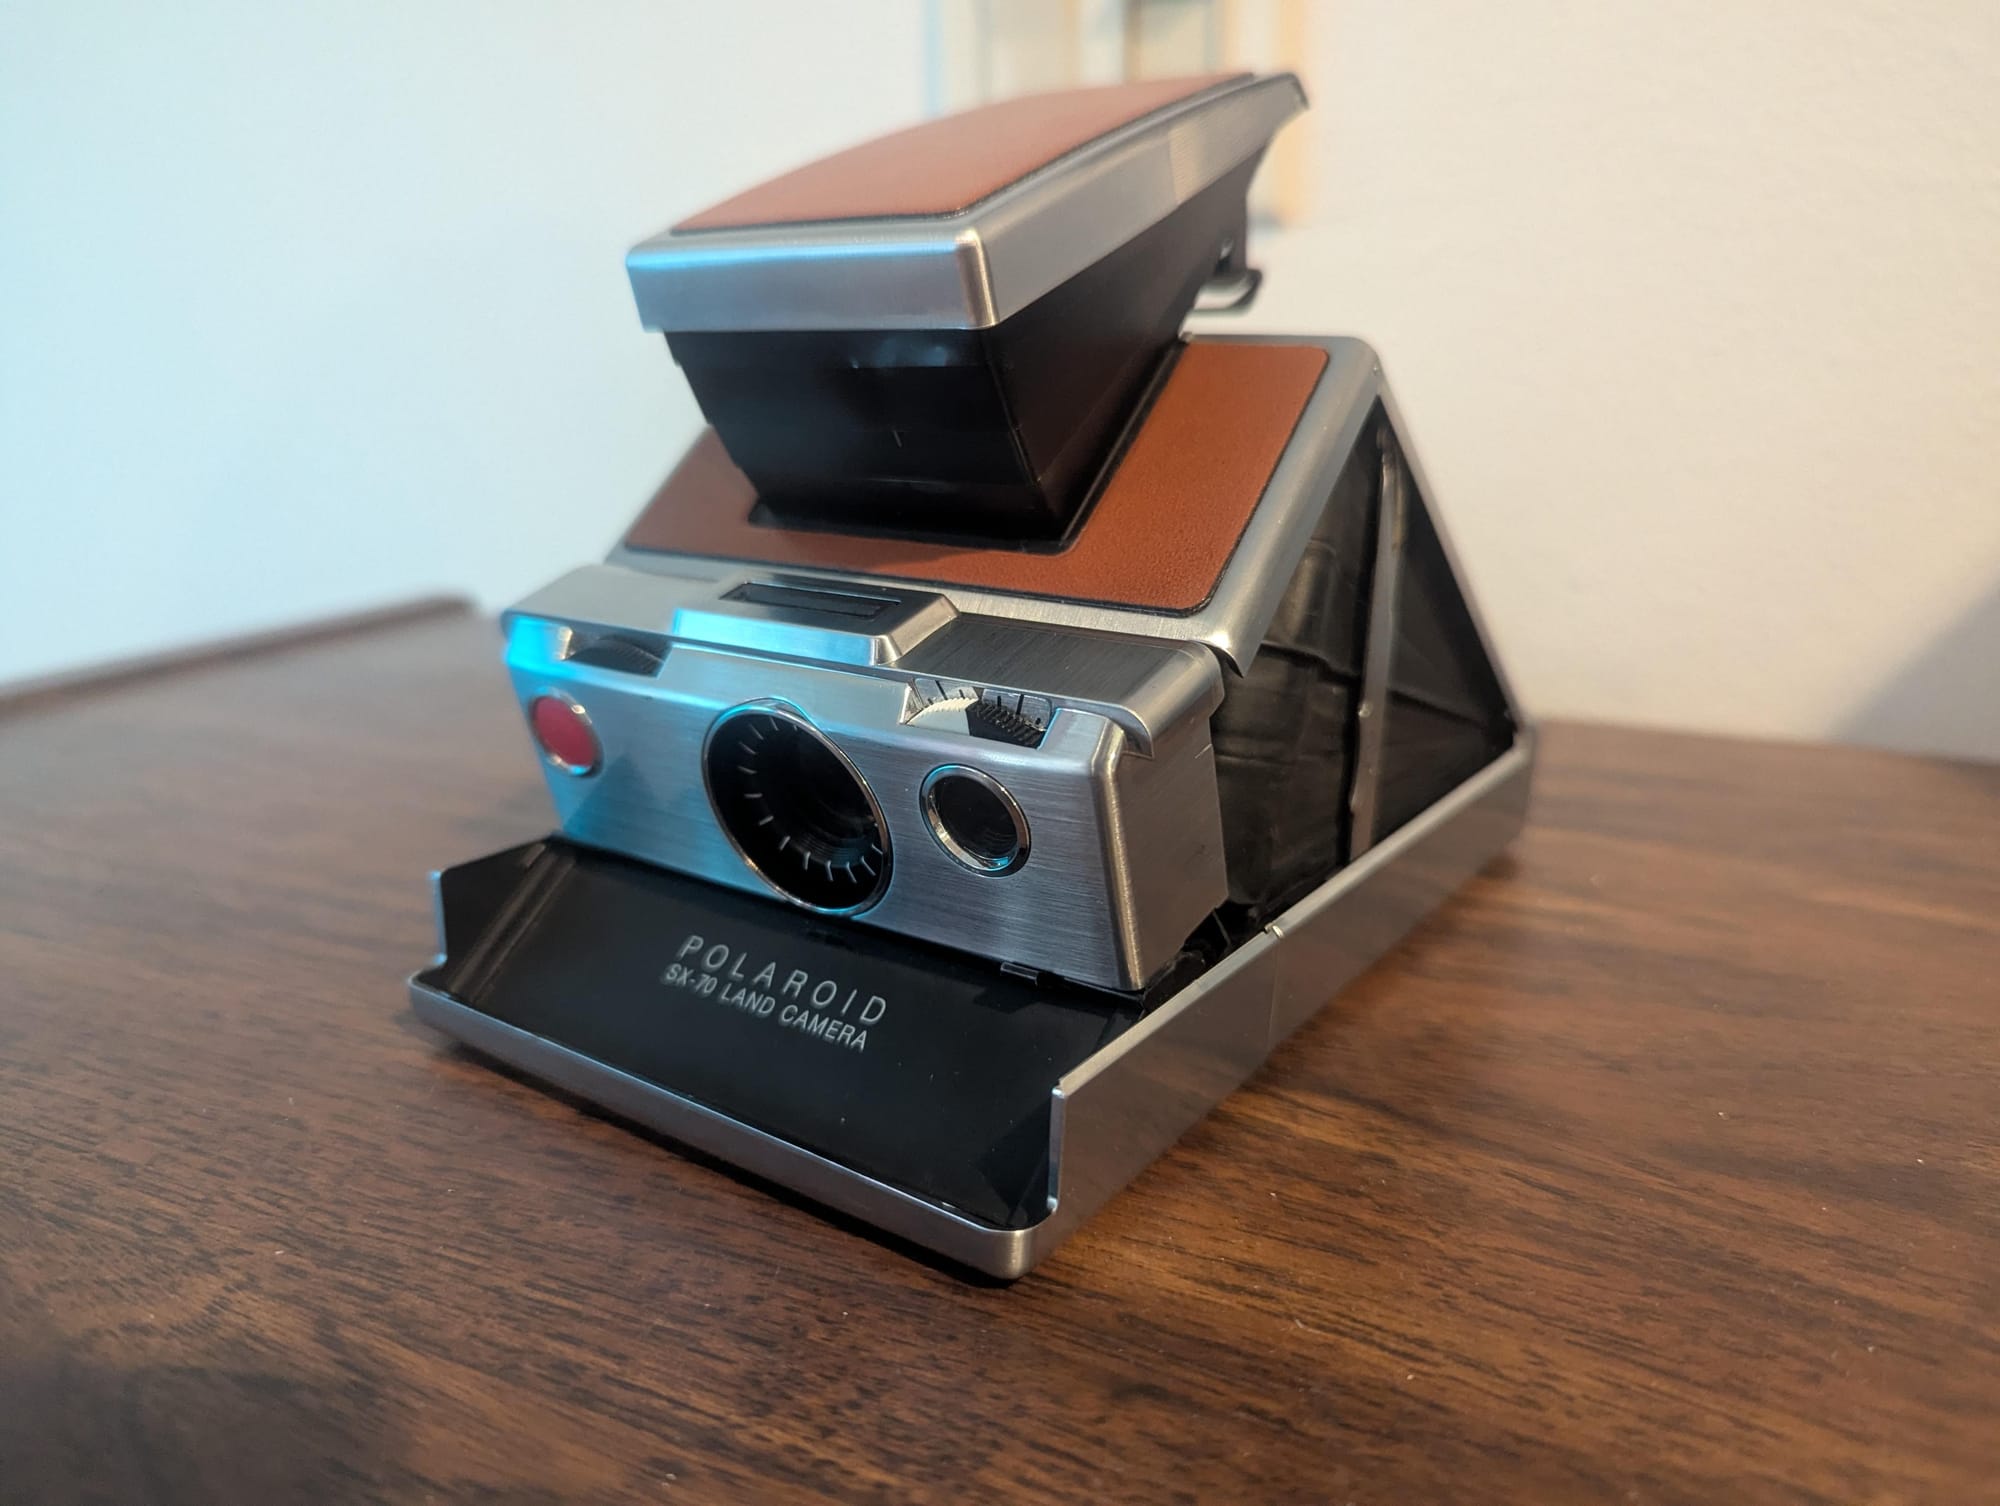
Partially re-assembled, complete re-assembly.
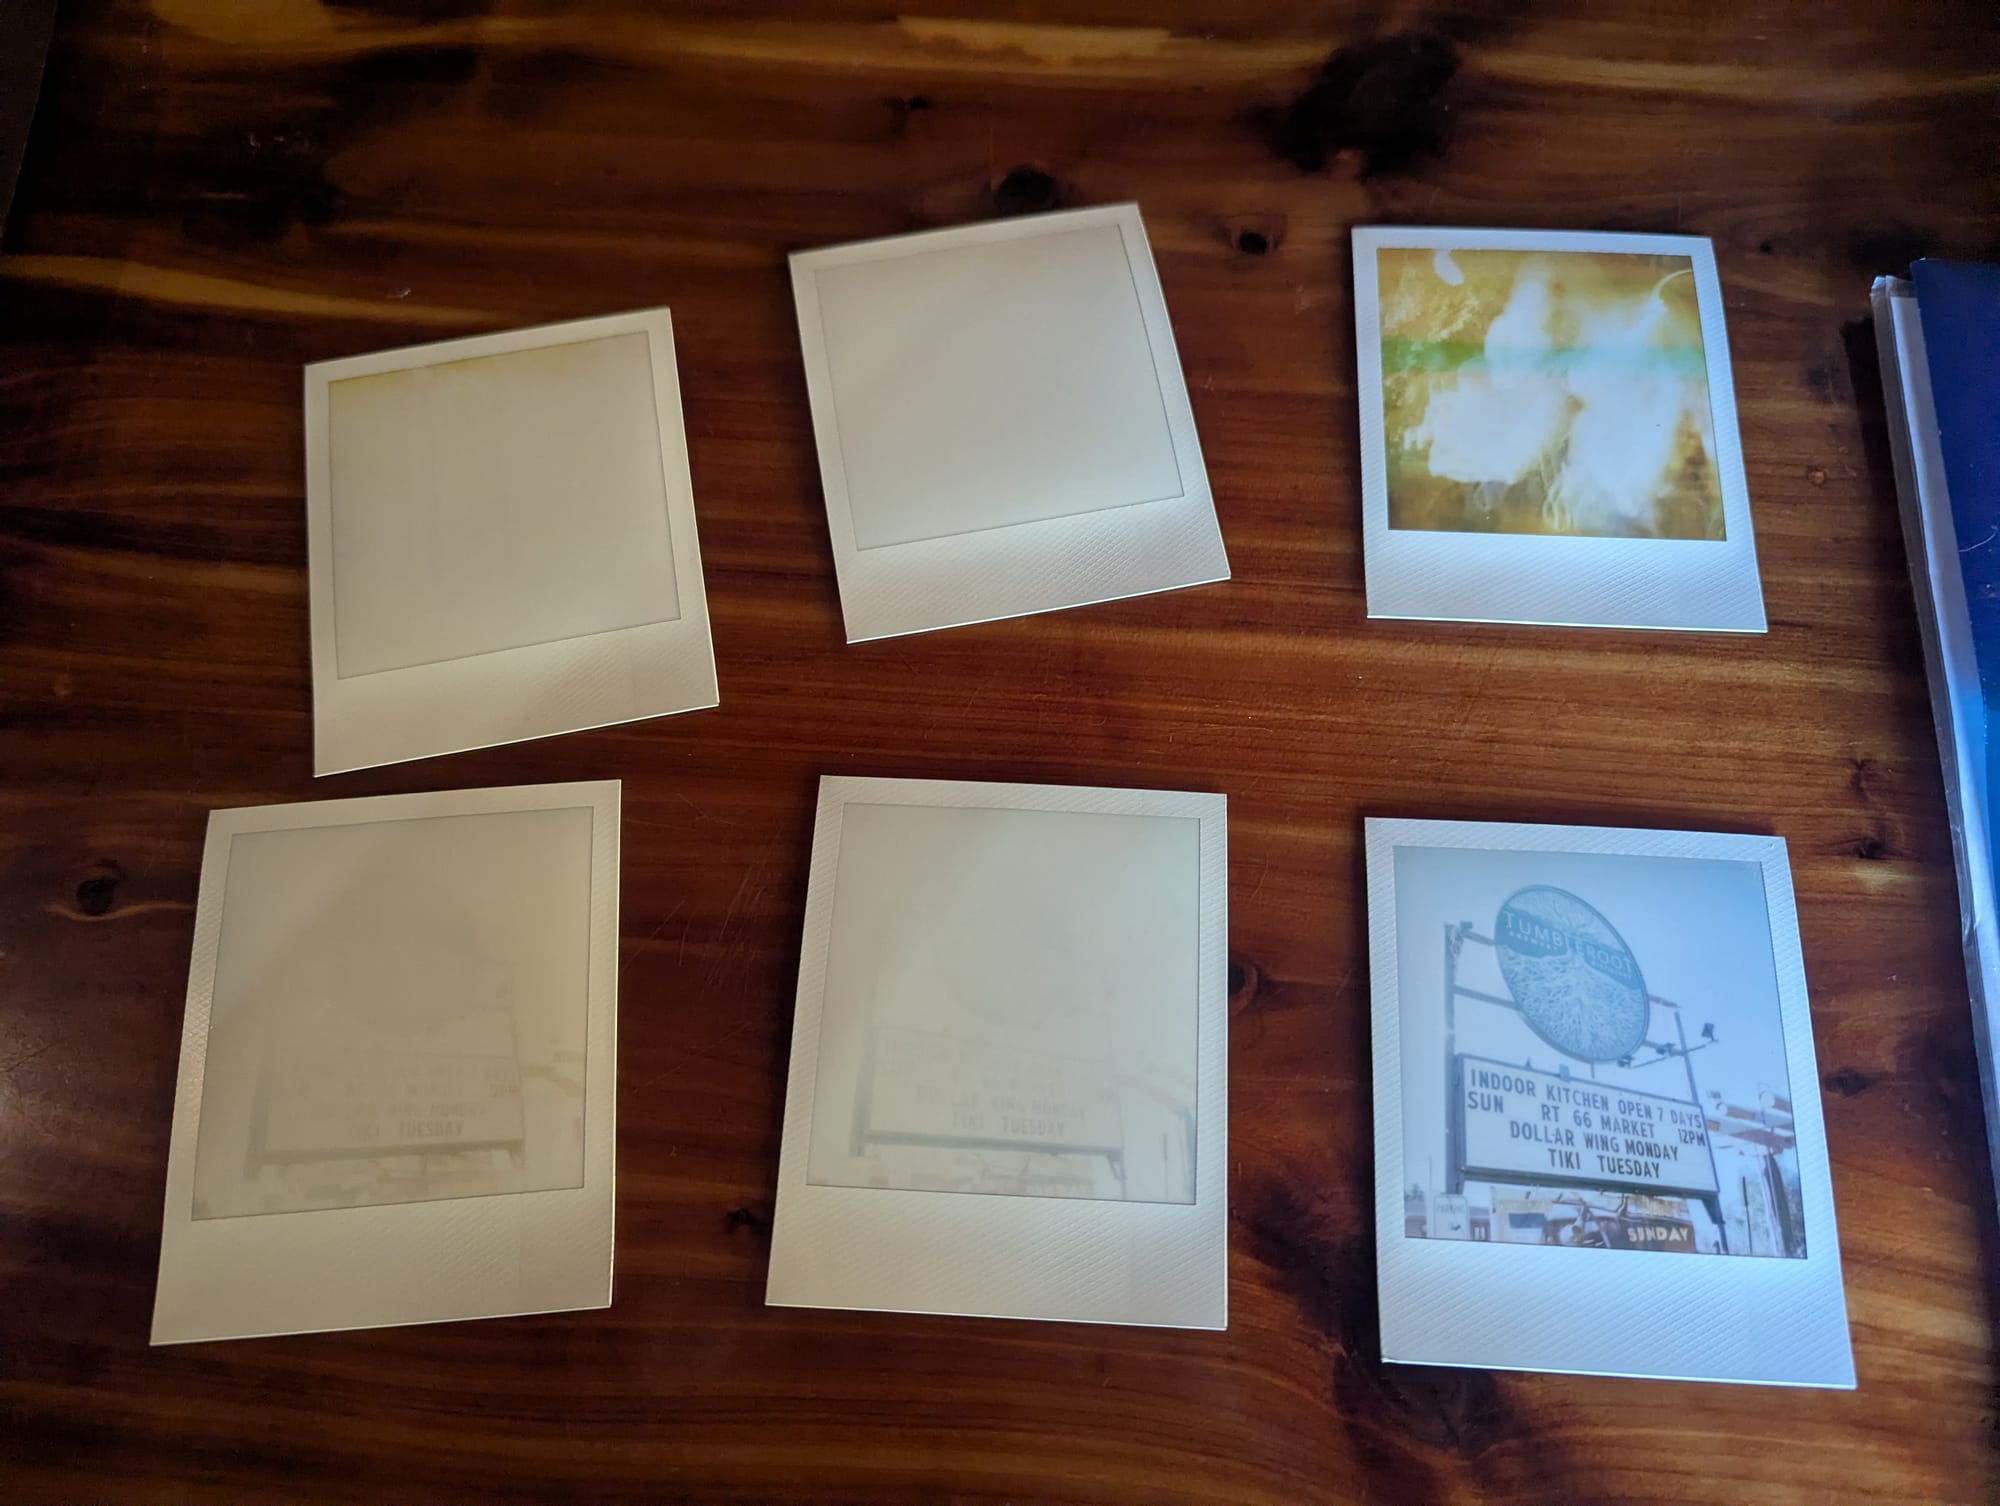
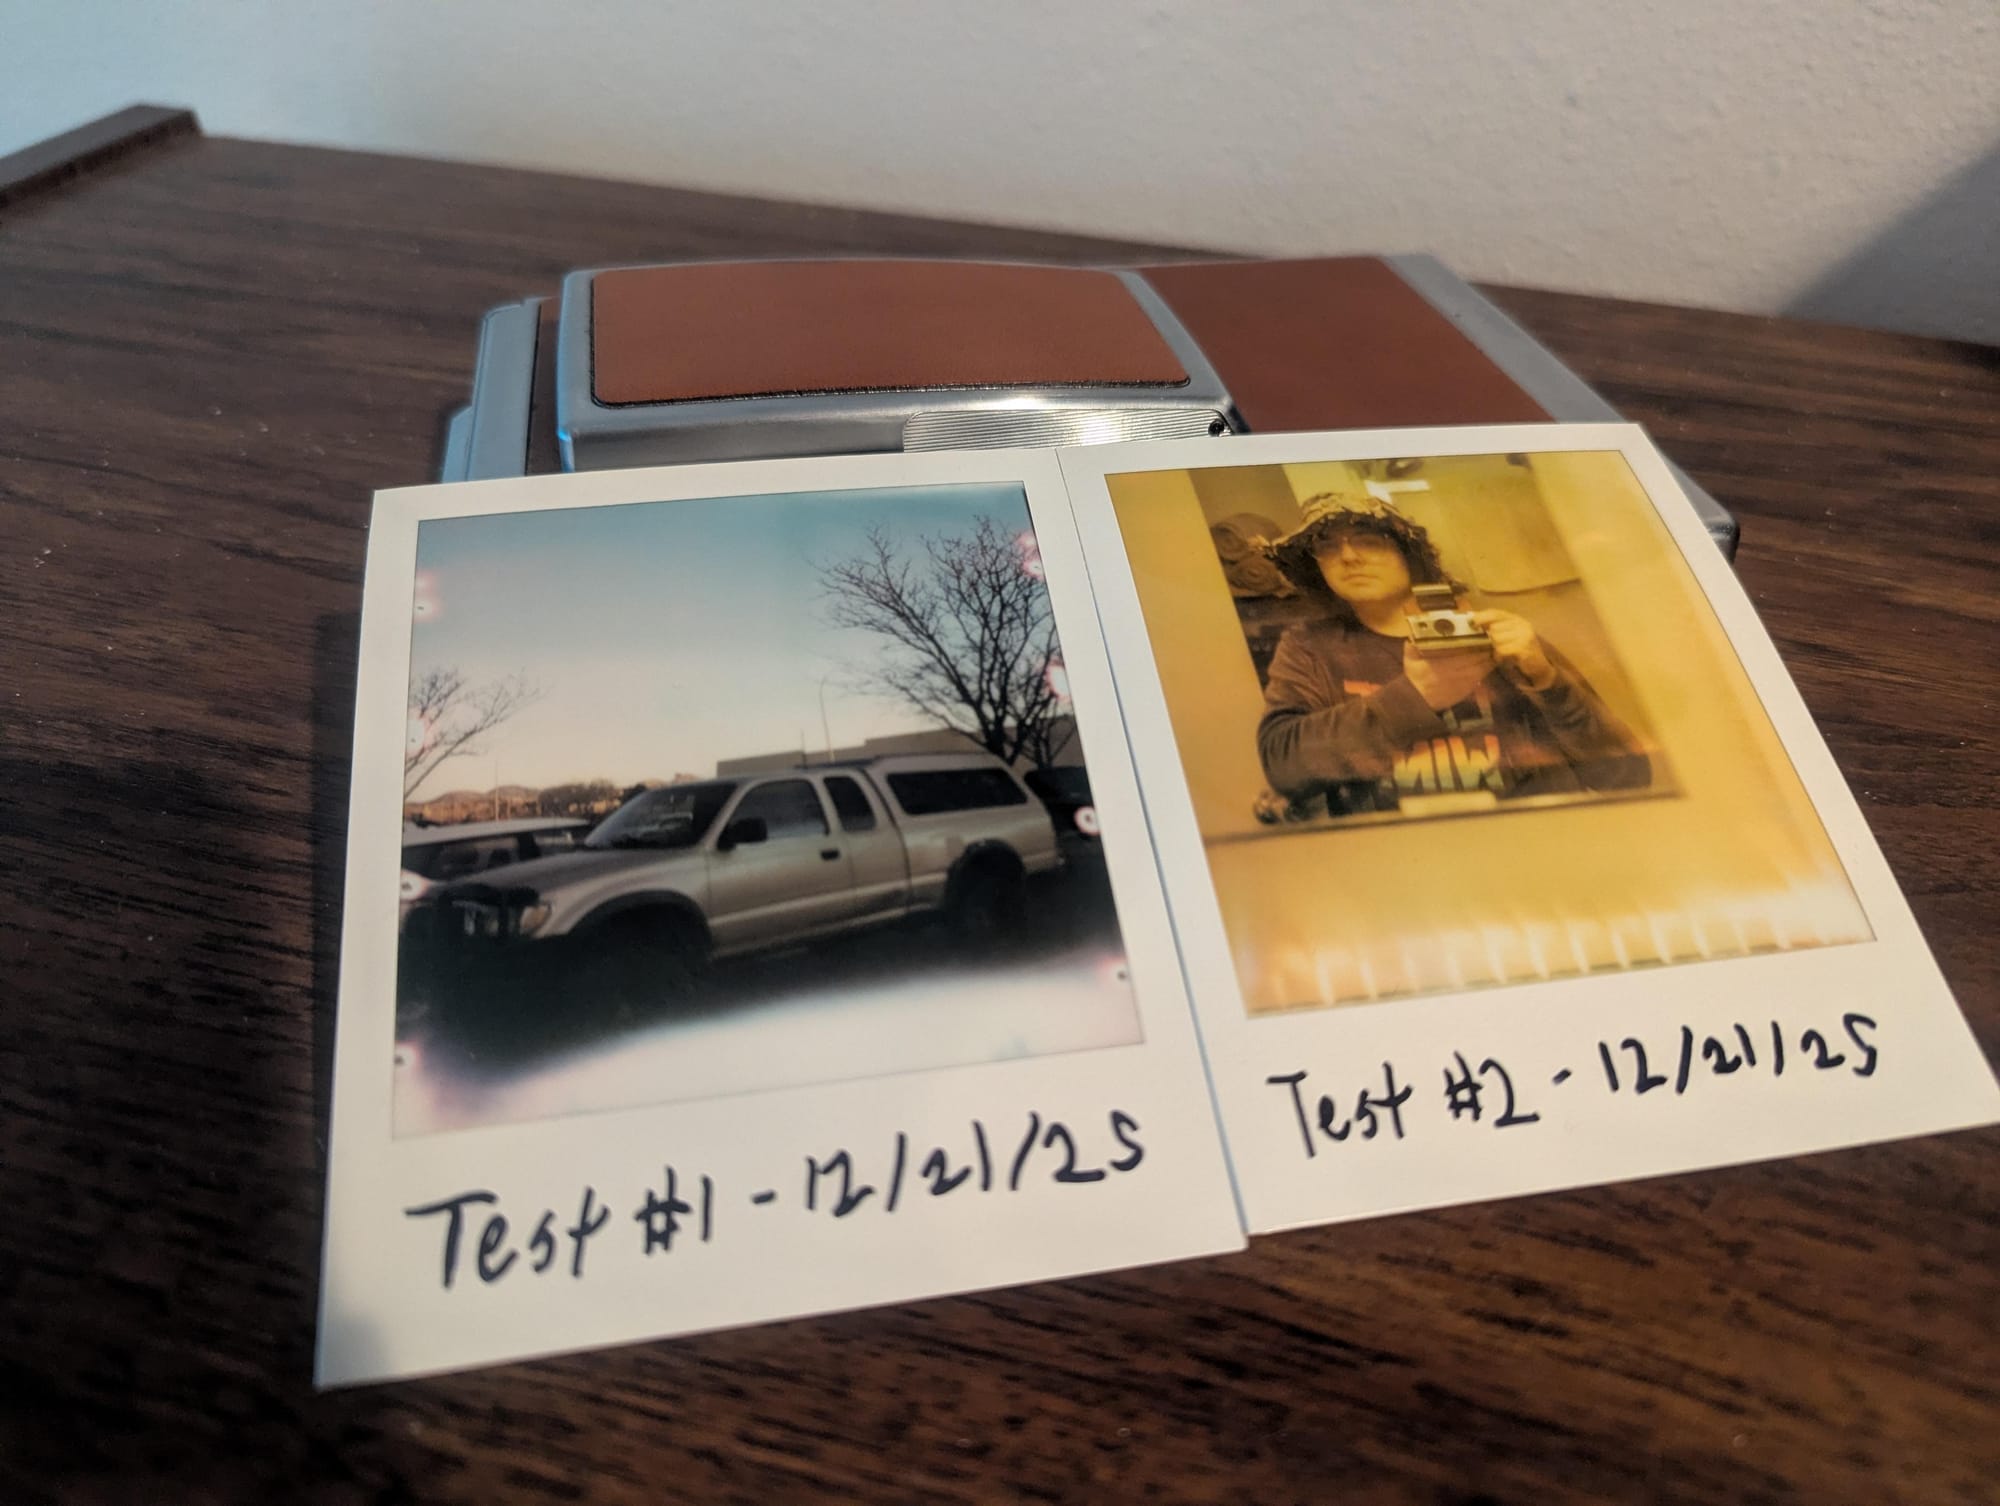
I took a break, and the next day I started the process of reassembling the camera. After re-assembly, I went down to the store and bought yet another pack of Polaroid 600 film. Somehow during the time that the camera was disassembled, the exit rollers had gotten some white gunk on them that I had overlooked. They were previously clean, but due to this the first shot I took came out slightly damaged.
Regardless, for taking this following photo right at sunset without adjusting the light/dark wheel, I was very much happier with the outcome. I still have some slight repairs to make to the camera, and there's a lot more in-depth tuning to do to get the "perfect shot." However, I am satisfied for now and will likely re-visit these topics in a future post.
To my friends Dan and Rebecka, thank you for re-introducing me to the hobby of refurbishing vintage electronics. It's a nice change of pace from working on tech projects or car projects. If you would like to follow their adventures and experiences in emigrating from the United States to the European Union, you can visit their substack website at the following.
